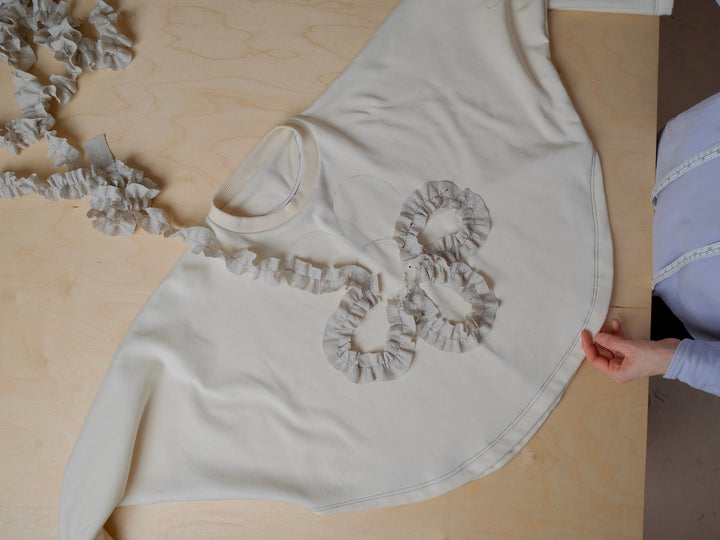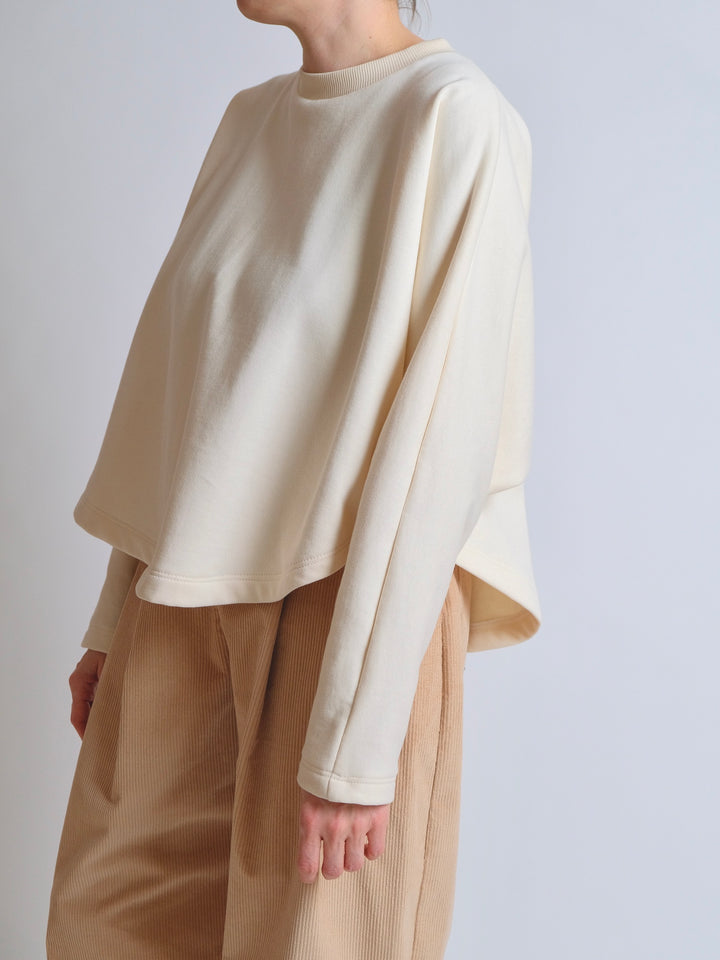
After quite a while we have finally released a new pattern! The ZW Soft Blouse is an easy wear top with a simple crew neck and 2 sleeve options, a gathered and twisted double sleeve band, or a long sleeve with an elasticated wrist.


This is a very easy make, except the neck which is the trickiest part, especially for a beginner. This tutorial shows the steps of attaching the neck bind and hopefully will make it a lot easier for anyone struggling with this part.
The pattern includes a template to cut your binding, as well as measurements to make your own template if you are unable to print, but I would strongly recommend using the template, for both the neck cut out and binding, as it makes this whole process so much easier as you bind should fit perfectly into your neck.
This is a 'back bind', and when sewn it is visible on the inside of the garment only. This type of bind uses a bias strip which is folded in half lengthways and is sewn on as a double strip, then turned to the inside of the garment and top stitched down. It is a super nice finish, especially on light weight fabrics like silk or viscose and when it is done properly it looks really nice.


Below I will outline the steps of attaching the back bind as well as finishing the back split with loop. This should be the very first step you do when sewing together your garment as it is a lot easier to do this while you can keep the whole front/back body flat.
Cut out your neck using your template, and your neck bind using your template, making sure you mark all of your notches. This binding must be cut on the bias.


Join your ends together, with right sides together and sew with 1cm / 3/8 inch seam allowance and press open. Press this bind in half lengthways all the way around and trim away the points at the join.


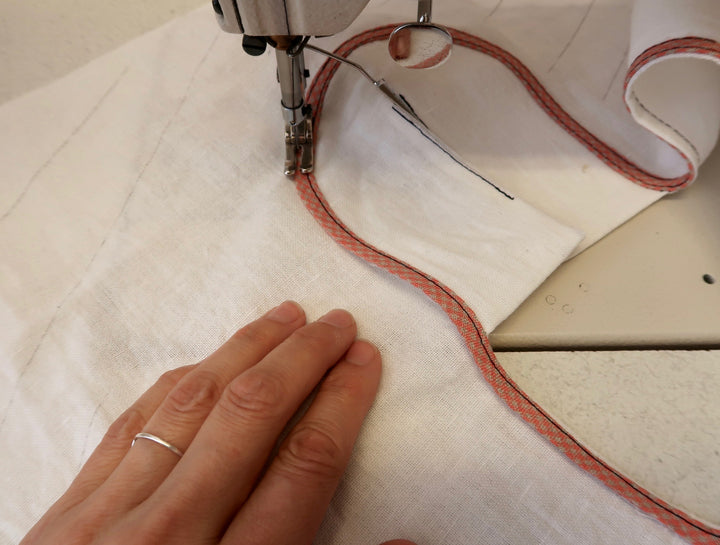
Pin your bind strip to your neck on the right side, matching your centre front and centre back notches, and your SH notches to shoulder point of your body. Sew on the strip with a 5mm / 1/4 inch seam allowance taking particular care at the shoulder points, where the body part needs to be angled out slightly (see images for more)


Now turn down your bind away from the body and edge stitch, you can press this first if it easier. If you have any threads or raw fabric edges showing under make sure you trim them away carefully.


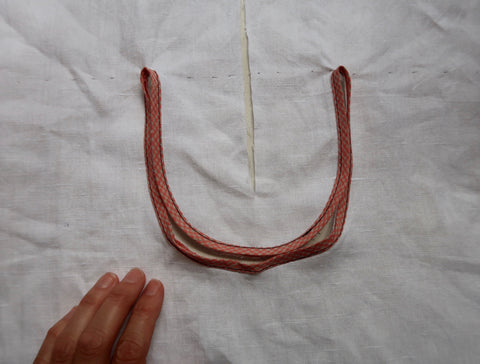
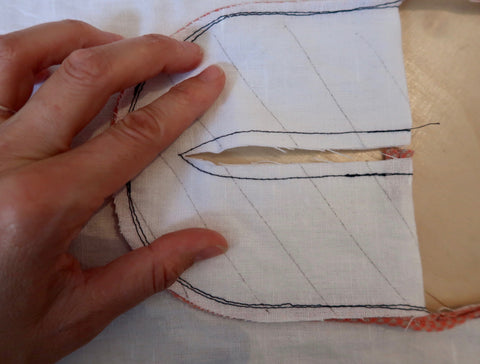
Now attach your centre back loop (this is a small turned out loop) by folding it in half and attaching in right up against your shoulder edge, turn your back facing onto the back body, folding along the shoulder line, right sides together, and sew your loop in as you sew your split. Sew your split a little down past the cut line and trim into this point as far as you can after sewing. Turn out your back facing and edge stitch each side as much as you can onto the the facing/seam part to hold back the seam. From the inside of you garment press everything down neatly and pin in place.


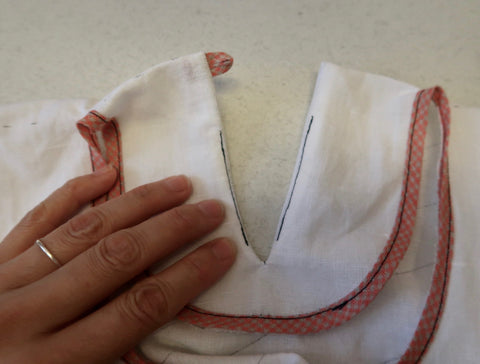


Top stitch you facing and binding down all at once. Once sewn down press with steam more as required, the neck should sit nice and flat when done. And thats it!