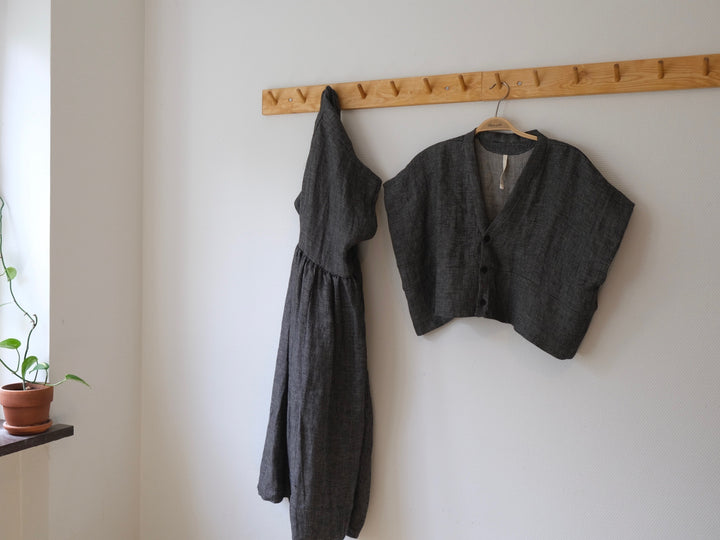
This is a simple hack to make a sleeveless version of the ZWCroppedShirt or ZWGatherDress. By adding a facing to the inside of the armhole you will have a beautiful finish, this facing also adds a nice weight here so it hangs nicely when worn.


I have made up 2 alternative layouts below depending on which pattern you are using. Instead of cutting the section that has sleeves, cut as per the below.
You cut 2 armhole facings and the remainder is used for pockets. The pockets are cut in the other direction on the grain from the original and your fold is at the bottom instead.

With this layout your armhole opening size is determined by the width of your fabric, if you have quite a wide fabric you are working with then you can reduce the size of your facings by folding in more on each end when attaching into your garment. If this becomes too thick you may need to cut a little extra away here OR think about using a contrast fabric using remnants you already have lying around, a little pop of a contrast colour or printed fabric would look super cute in here!

Attaching your armhole facing
I have used a half scale sample to show this process, if anyone is wondering why the bodice is so small! (which could be whole other tutorial for anyone wanting to make a mini version for a little person)
Sew your shoulders and side seams together, make sure your underarm notch is cut the the finished size you want your armhole opening to be. You can mark this by measuring down from the shoulder seam half the width of your facing piece.
Take your armhole facings and press in the long edge without the SH notch 1cm / 1/2 inch, and the 2 ends in 1cm / 1/2 inch (or more if you are working on the cropped shirt and need to reduce the size). Then pin your facing into the bodice, right sides together. Make sure you have snipped into your underarm notch the full 1cm / 1/2 inch and match up each end of the facing right into that underarm point.


Next stitch your facing in to the armhole with 1cm 1/2 inch S/A, making sure you get right into the underarm point and keep the bodice side seam out of the way so that it doesn't catch here.


Then turn your seam down and away from your bodice and edge stitch your facing down onto the seam and press and turn to the inside of your bodice.


OUTSIDE VIEW

INSIDE VIEW

Pin your facing in place and top stitch down and your done!


Bx

