The ZW WORKWEAR JACKET is a pattern I released 3 years ago and it is still a solid favourite of mine. It also happens to be a pattern I have never done many tutorials for! Over time the sewing steps for this jacket have been fine tuned quite a lot so when we made another batch of workwear jackets for the shop recently I decided it was time we also did a proper tutorial, as well as update the sewing instructions in the pattern to reflect this.
The pattern update will be sent automatically to anyone that has previously purchased this, if you don't receive this update please get in touch with info@birgittahelmersson.com and we will sort you out.
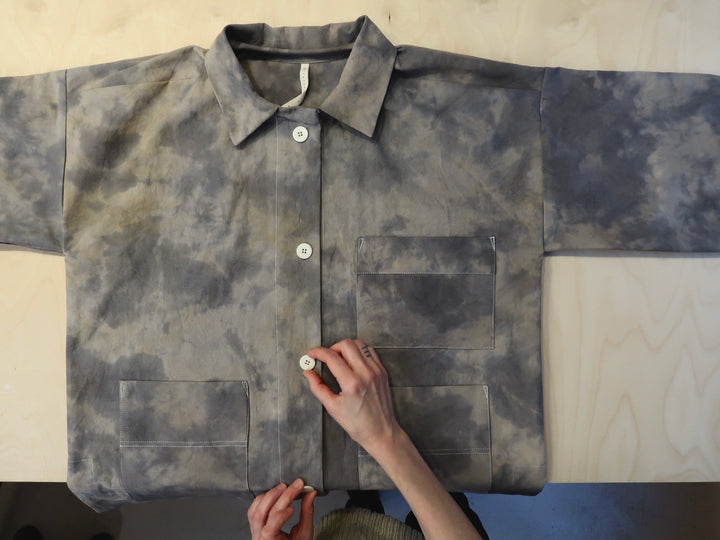
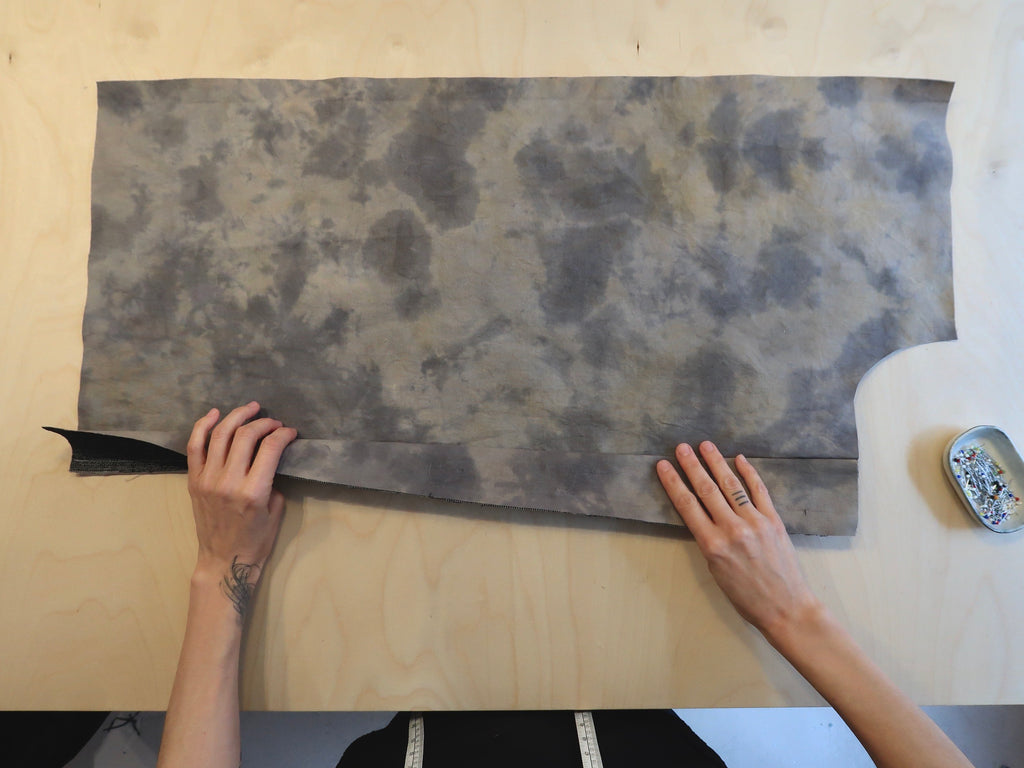
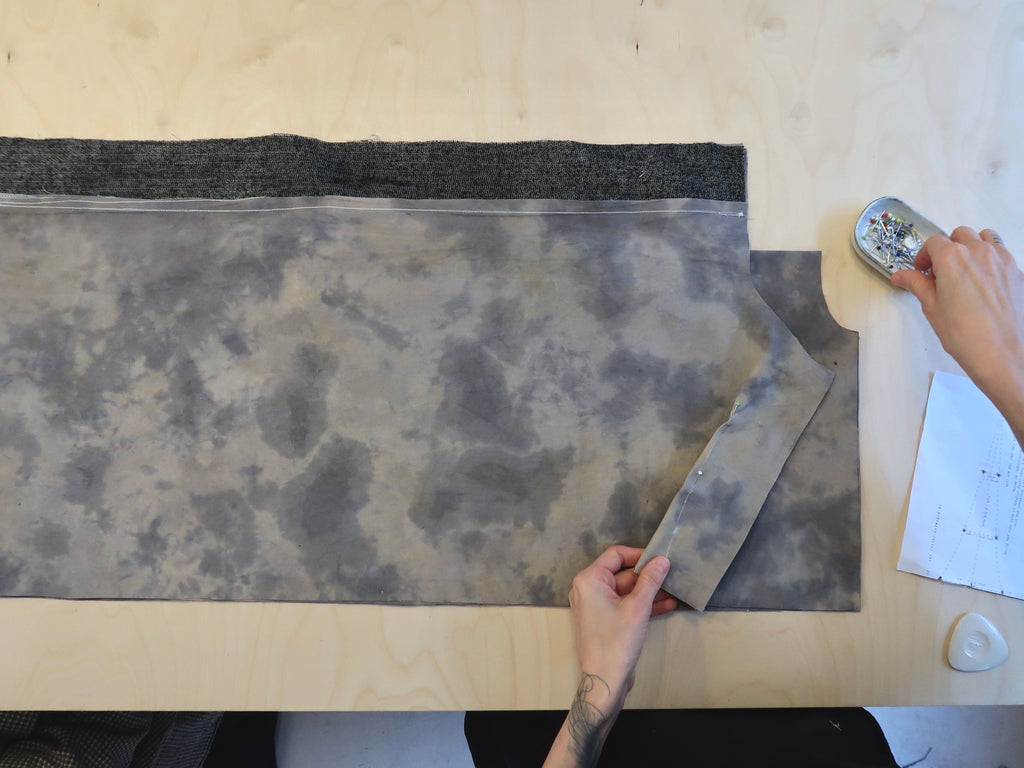
This tutorial includes all the sewing steps to make the ZW Workwear Jacket. Refer to the pattern for the cutting instructions. The fabric I have used for this project is a really cool organic cotton twill, 145cm wide, that Sam dyed last year using oak galls, onion skins and iron. I love that it looks a bit like a cloudy sky!
STEP 1 - CF FACING
Attach the centre front facings (F) to the centre front edges of the front bodies (E). Sew right sides together with 1cm seam allowance then press the facing and seam allowances away from the body then do a top stitch on the facing close to the seam. *I have added an iron on interfacing to the front facing pieces for a bit more weight, but this is optional.


STEP 2 - DARTS
Sew darts into the side of the front and back body armholes. Take your dart placement template and place it on the wrong side of the fabric lining up the shoulder and armhole edge of the template with the front and back body (I have placed my front and back body pieces together here in pairs and will place a pin into all the guide points for the dart, then I have marked these point on all pieces, on the wrong side of the fabric). Draw in the dart shape by joining up the marked points then sew the darts together with right side of the fabric together. Press the darts down.


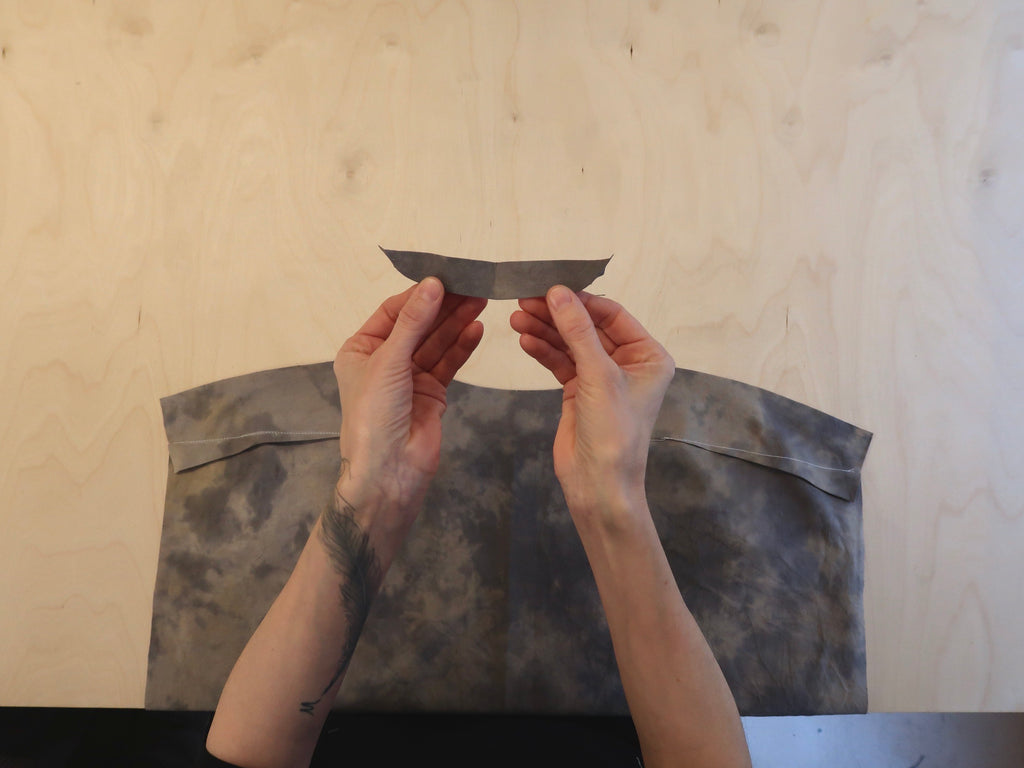
STEP 3 - BACK NECK FACING
Take your back neck facing (B) and press in the curved edge to the wrong side by approximately 8mm / 0.25". Turn the facing around so it is right way up and place it on the back neck on back body, on the wrong side of the fabric. Your fabrics should be facing wrong side to wrong side. Pin in place and top stitch down through all layers around the curved edge of the facing. Top stitch across the top of the neck to hold down the facing here as well, approximately 5mm / 0.125" down from the top neck edge.
*The bottom edge of this facing is a great place to insert a little hanging loop before you stitch the facing down, using a roulle loop or some cord, or in my case a little garment label!


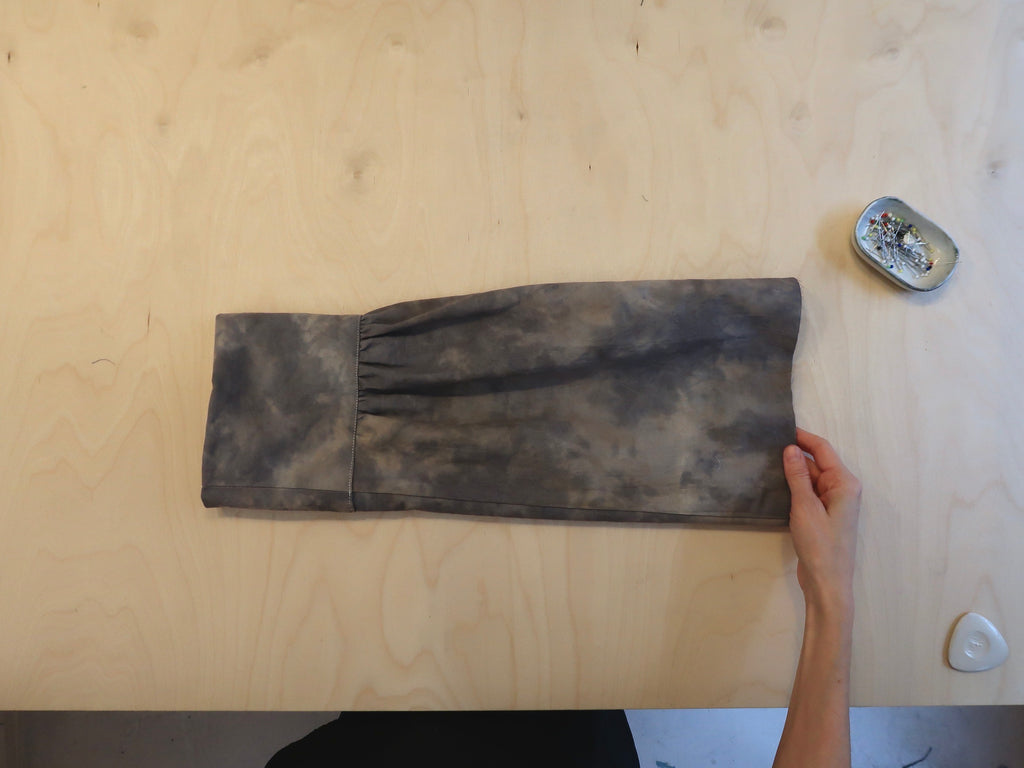
STEP 4a - SLEEVE
Gather the bottom of your sleeves (G) on the right side of your fabric between the notches so that the finished width of your sleeve is the same as the width of you sleeve cuff (H). You should end up with a pair of sleeves.
*If you are using a particularly wide fabric you may need to gather this section in quite a lot. If so you can gather a larger section of the sleeve to account for this.


STEP 4b - SLEEVE
Fold the sleeves (G) in half with right sides together and sew the side seams with a 1cm seam allowance and then overlock the seams together. Press the seams towards the side with the gathers.
Fold the sleeve cuffs (H) in half with right sides together and sew the side seam with a single stitch and then press the seams open.


STEP 4c - SLEEVE
Slide the sleeve cuff (H) onto the sleeve (G) with the right side of the sleeve cuff against the wrong side of the sleeve making sure that the side seams match up, and so that the bottom edge of the sleeve cuff lines up with the sleeve hem (both should be turned wrong way out). Sew together with a 1cm seam allowance then press seams towards the sleeve cuff.
Press the end of your sleeve cuff that has not been attached yet 1cm to the wrong side, then fold the whole sleeve cuff in half, wrong sides together. Pin in place and top stitch down on the sleeve cuff close to the fold, making sure you cover the existing seam where the gathers are. Once you are done turn your sleeves right side out.


STEP 5a - BODY & SPLITS
Place your front and back bodies together and sew together the shoulders with a single stitch then overlock the seams together. Press seams towards the back.


STEP 5b - BODY & SPLITS
Turn the body right way out and line the sleeves up against the armhole side of the body to determine your armhole size. The armhole size should be exactly half the sleeve width measured down from the shoulder. Mark a notch that is 1cm deep then overlock the front and back side seams separately starting at the notch and continuing all the way down to the hem.


STEP 5c - BODY & SPLITS
Sew together your side seams with a 1cm seam allowance starting at the underarm notch and continuing down to the second notch up from the hem. Press seams open.


STEP 5d - BODY & SPLITS
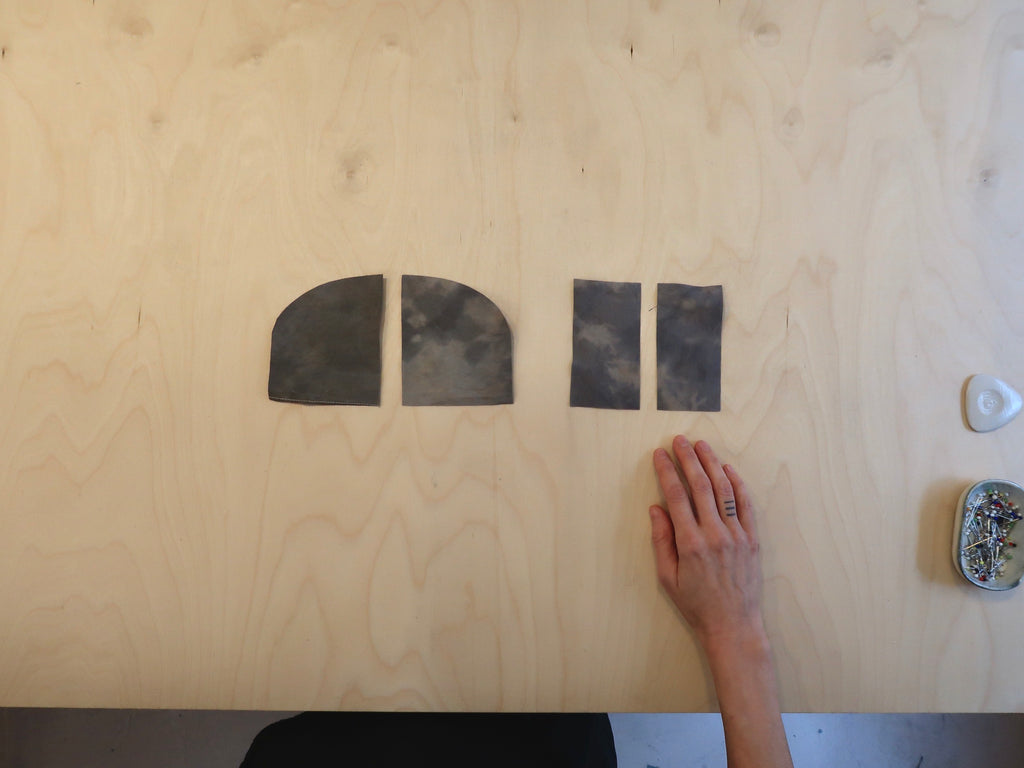
Prepare your back split facings (A) by pressing under the curved edge to the wrong side by 1cm. Prepare your front split facings (M) by pressing under one top edge and one side edge so that you end up with a pair of facings, pressing under by 1cm to the wrong side.

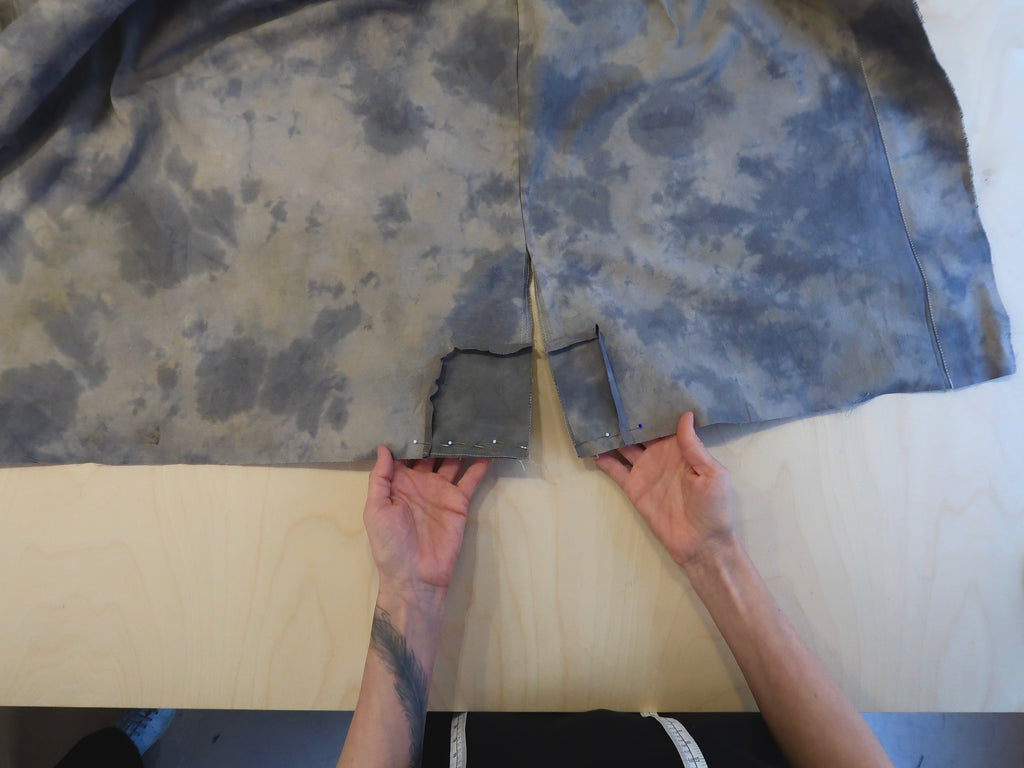
STEP 5e - BODY & SPLITS
Pin, with right sides together, the bottom shorter edge of the back split facing to the bottom edge of the back body, and the bottom edge of the front split facing to the bottom of the front body, lining up the longer raw edges of each of the facings with the front and back side seams. Stitch together along the bottom with 1cm seam allowance.

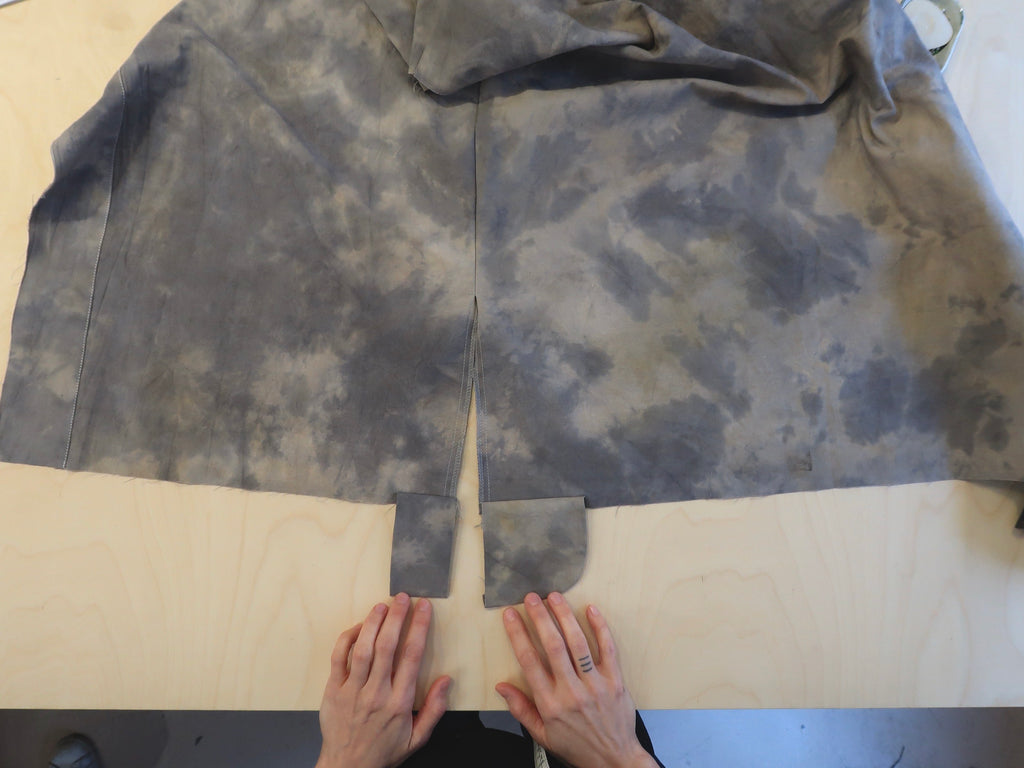
STEP 5f - BODY & SPLITS
Now fold your hems up to the first notch, with right sides of the fabric together and pin the hem turn up and split facings in place all the way along the side seams. Make sure that the top of the hem seam allowance is turned down towards the hem (the seam allowance where the split facing joins the hem). Sew together then turn out the right way and press and pin in place the split facings and a small portion of the hem on either side.


STEP 5g - BODY & SPLITS
Along the centre front hem edge turn back the CF Facing (F) along the seam line, right side to right side, then turn under the other raw edge of the CF Facing to the wrong side by 1cm. Pin in place measuring 10cm up from the hem (or to the first notch). Sew down along this line then turn the hem out neatly to the right side.


STEP 5h - BODY & SPLITS
Pin together the CF Facing and the hem turn up then top stitch together with a vertical stitch line, make sure you only stitch together the CF facing and hem turn up, do not stitch through the outer body of the jacket . Press the hem up evenly around the whole jacket and pin in place along the hem and a short way up the CF facing/body.


STEP 6a - COLLAR
Fold your collar (I) in half lengthways with right sides together. Pin the short ends together and mark out a diagonal sewing line. The start of the top edge (along the open raw edges) should measure 3cm in from the edge and the bottom edge (along the folded edge) should measure 1cm in from the edge. Sew together along this line then snip away a small triangle on the bottom folded edge of the seam. Turn the collar out neatly the right way and press. Stitch across the raw edges of the collar around 5mm / 0.125" down from the top to secure together the opening.


STEP 6b - COLLAR
Place your collar on the back body neckline with right side to right side, lining up the raw edges of the collar with the raw edges of the neckline. The centre back collar should match the centre back body neckline and the front edge of the collar on each side should match to the notches on the front body necklines. Stitch the collar to the neckline with an 8mm seam allowance.


STEP 6c - COLLAR
Turn your body to the wrong side and place the collar binding (J) onto the neckline, right side collar binding to wrong side neckline. The centre back collar binding should match to the centre back neck and each binding end should extend a little way past the collar on the front necklines. Stitch down with a 1cm seam allowance then press the collar binding up and away from the neck.
Turn your garment to the right side then press the other raw edge of the collar binding to the wrong side by 1cm then fold the binding in half and pin in place on the front side of the body neckline making sure you cover the previous stitch line. Top stitch down through all layers close to the fold line.


STEP 6d - COLLAR
Along the top of the neckline turn back the CF Facing (F) to the seam line, right side to right side, then turn under the other raw edge of the CF Facing to the wring side by 1cm. Pin in place and top stitch together across the top with a 1cm seam allowance, making sure that you manage to just cover the binding along this edge too. Turn out neatly the right way.


STEP 7 - HEMS
Pin the CF Facings and hems in place all the way around. Starting from the inside of the jacket on the left front body top stitch down the CF Facing close the the fold line and continue down and all the way around the hem, following the line of the split facings and then back up again to the front neckline on the other side.


STEP 8 - ATTACHING SLEEVES
Sew the sleeves into the body. With the body turned the wrong way out and the sleeves turned the right way out slide the sleeves into the body armholes, right sides facing together, and pin in place along the raw armhole edges. The gathered side of the sleeve should be against the back body. Make sure that the underarm seams match and that the shoulder notch on the sleeve matches the shoulder seam of the body. The underarm side seam on the body will need to be pinned towards the back and at a right angle so that this part is sewn neatly.
The darts should be pressed down and angled away from the armhole edge slightly. Sew together the armhole with a 1cm seam allowance the overlock the seams together and press the seam allowance down into the sleeve. Turn the jacket out the right way and make sure that the underarm is sewn neatly and can move freely at the underarm point.


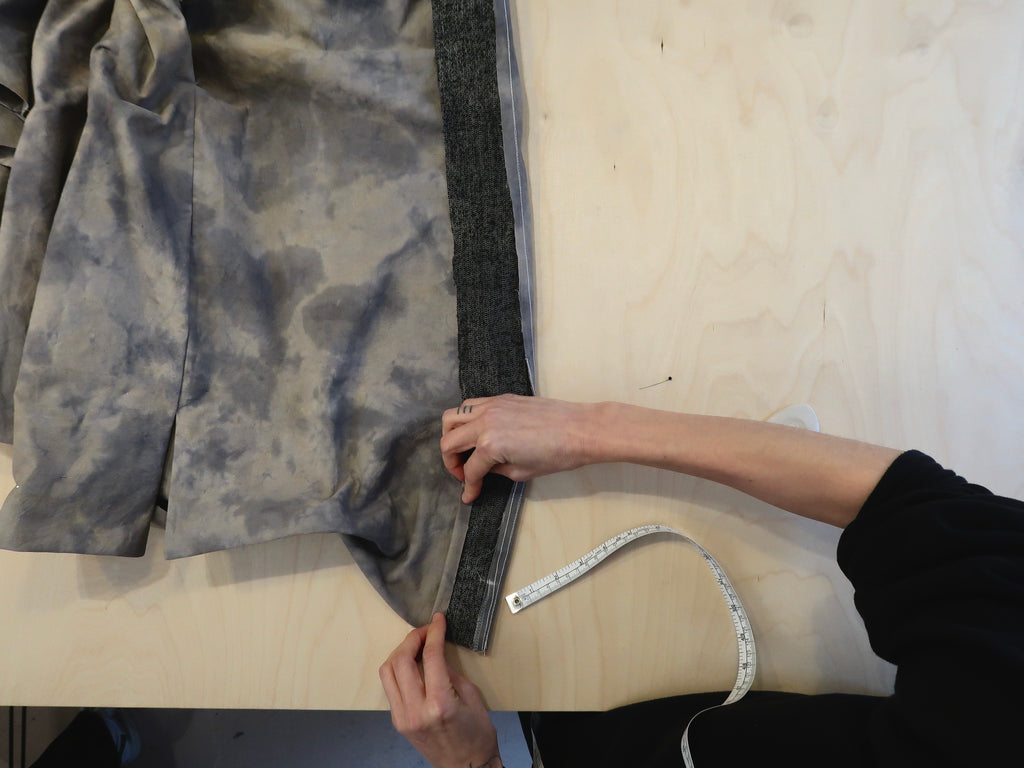
STEP 9a - POCKETS
Fold down the top edge of the Hip Pockets (K) twice to the wrong side by following the notches (if you are sewing the size TWO you should also do the same for the breast pocket L). Top stitch down close to the folded edge (I have also done a second row of stitching on my pockets around 8mm up from the first stitch line).


STEP 9b - POCKETS
Sew together the Breast Pocket pieces (L). Place one long end of one piece onto one long end of the other piece with right side against wrong side. Stitch together across the top edge with 1cm seam allowance. Press the seam allowances up then turn the pocket to the other side. Fold the top raw edge down to the wrong side by 1cm then fold in half and pin down making sure it just covers the first seam line you have sewn. Top stitch down close to the fold.


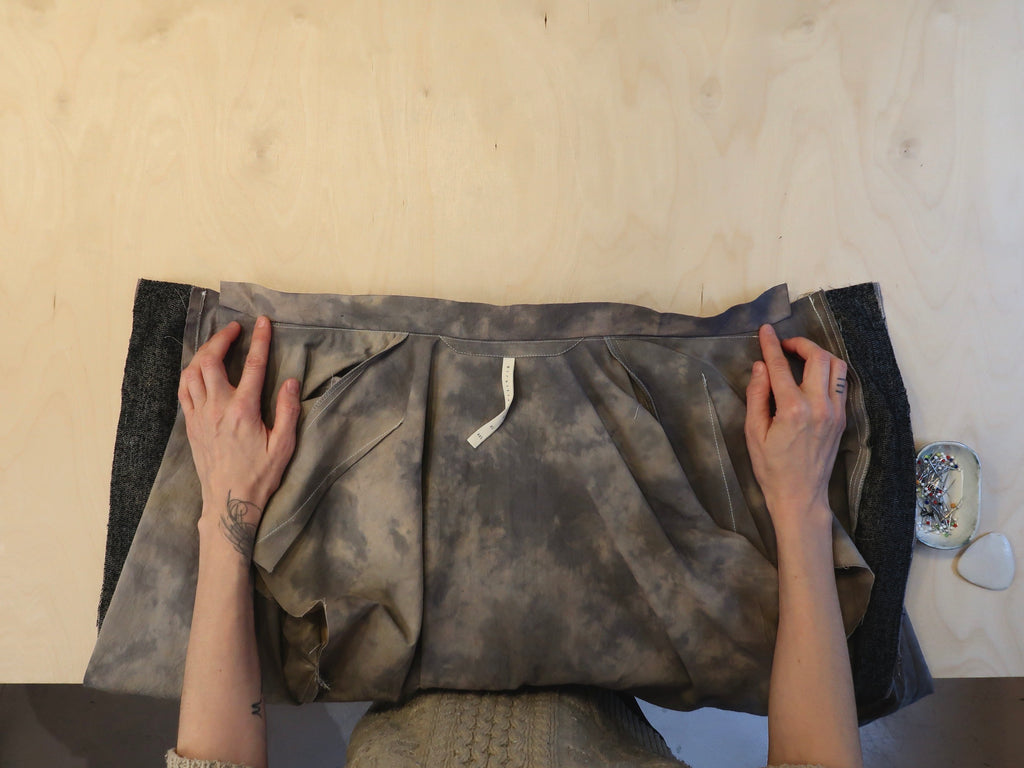
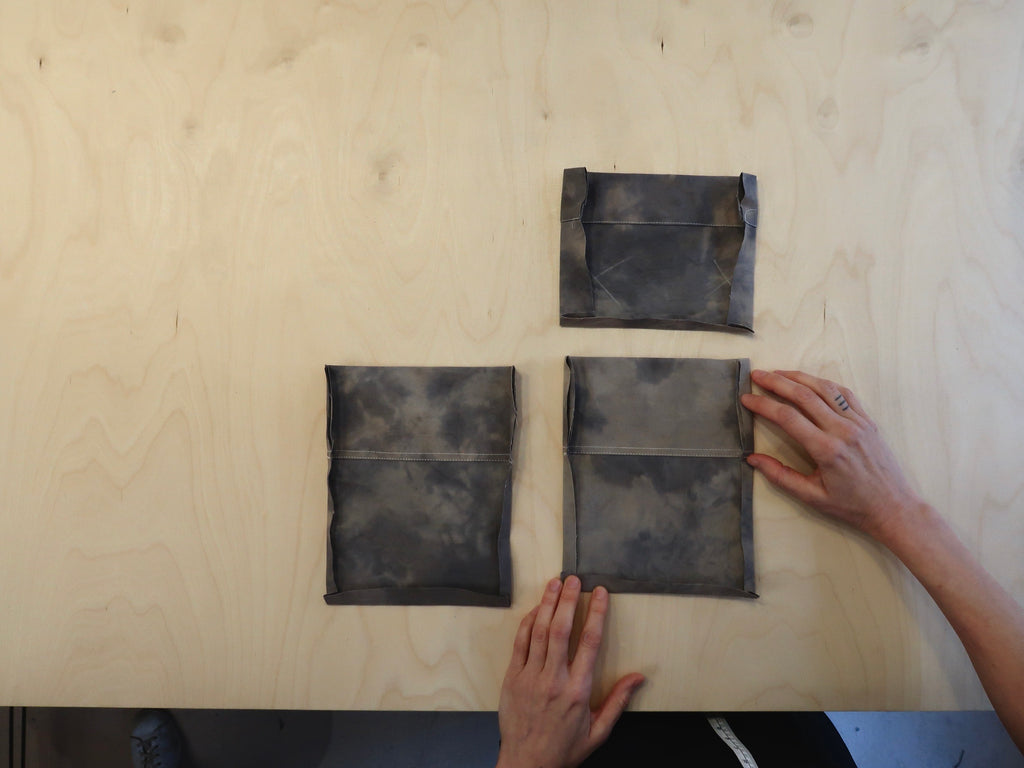
STEP 9c - POCKETS
Press in the sides and bottom edges of your hip pockets to the wrong side by 1cm. Press in the bottom edge of your chest pocket to the wrong side by 1cm then press in the sides so that the finished width is the same as your hip pockets. At the top corners fold under a triangle so that this sits neatly inside
*If you are using a fabric that frays easily you can also overlock the sides and bottom edges first before you press them in.


STEP 9d - POCKETS
Pin your pockets in place on your front bodies by following the measurements in the pattern instructions. Sew down on the sides and bottom and do a triangle on the top edges for strength.

Now you nearly have a finished workwear jacket! The last stage is adding buttons and buttons holes which is the only step I wont go into too much detail on. Add buttons and button holes to the centre front edges by following the instructions in the pattern and sew button holes according to the specifications of your sewing machine.


