
This is the final tutorial for the ZW Bell Jacket which takes you through bagging out of the body and sleeve hems, as well as finishing the CF Placket. Much of this is done with hand sewing.
*The sewing steps are numbered in order based on the PDF Instructions Booklet.
STEP 6A
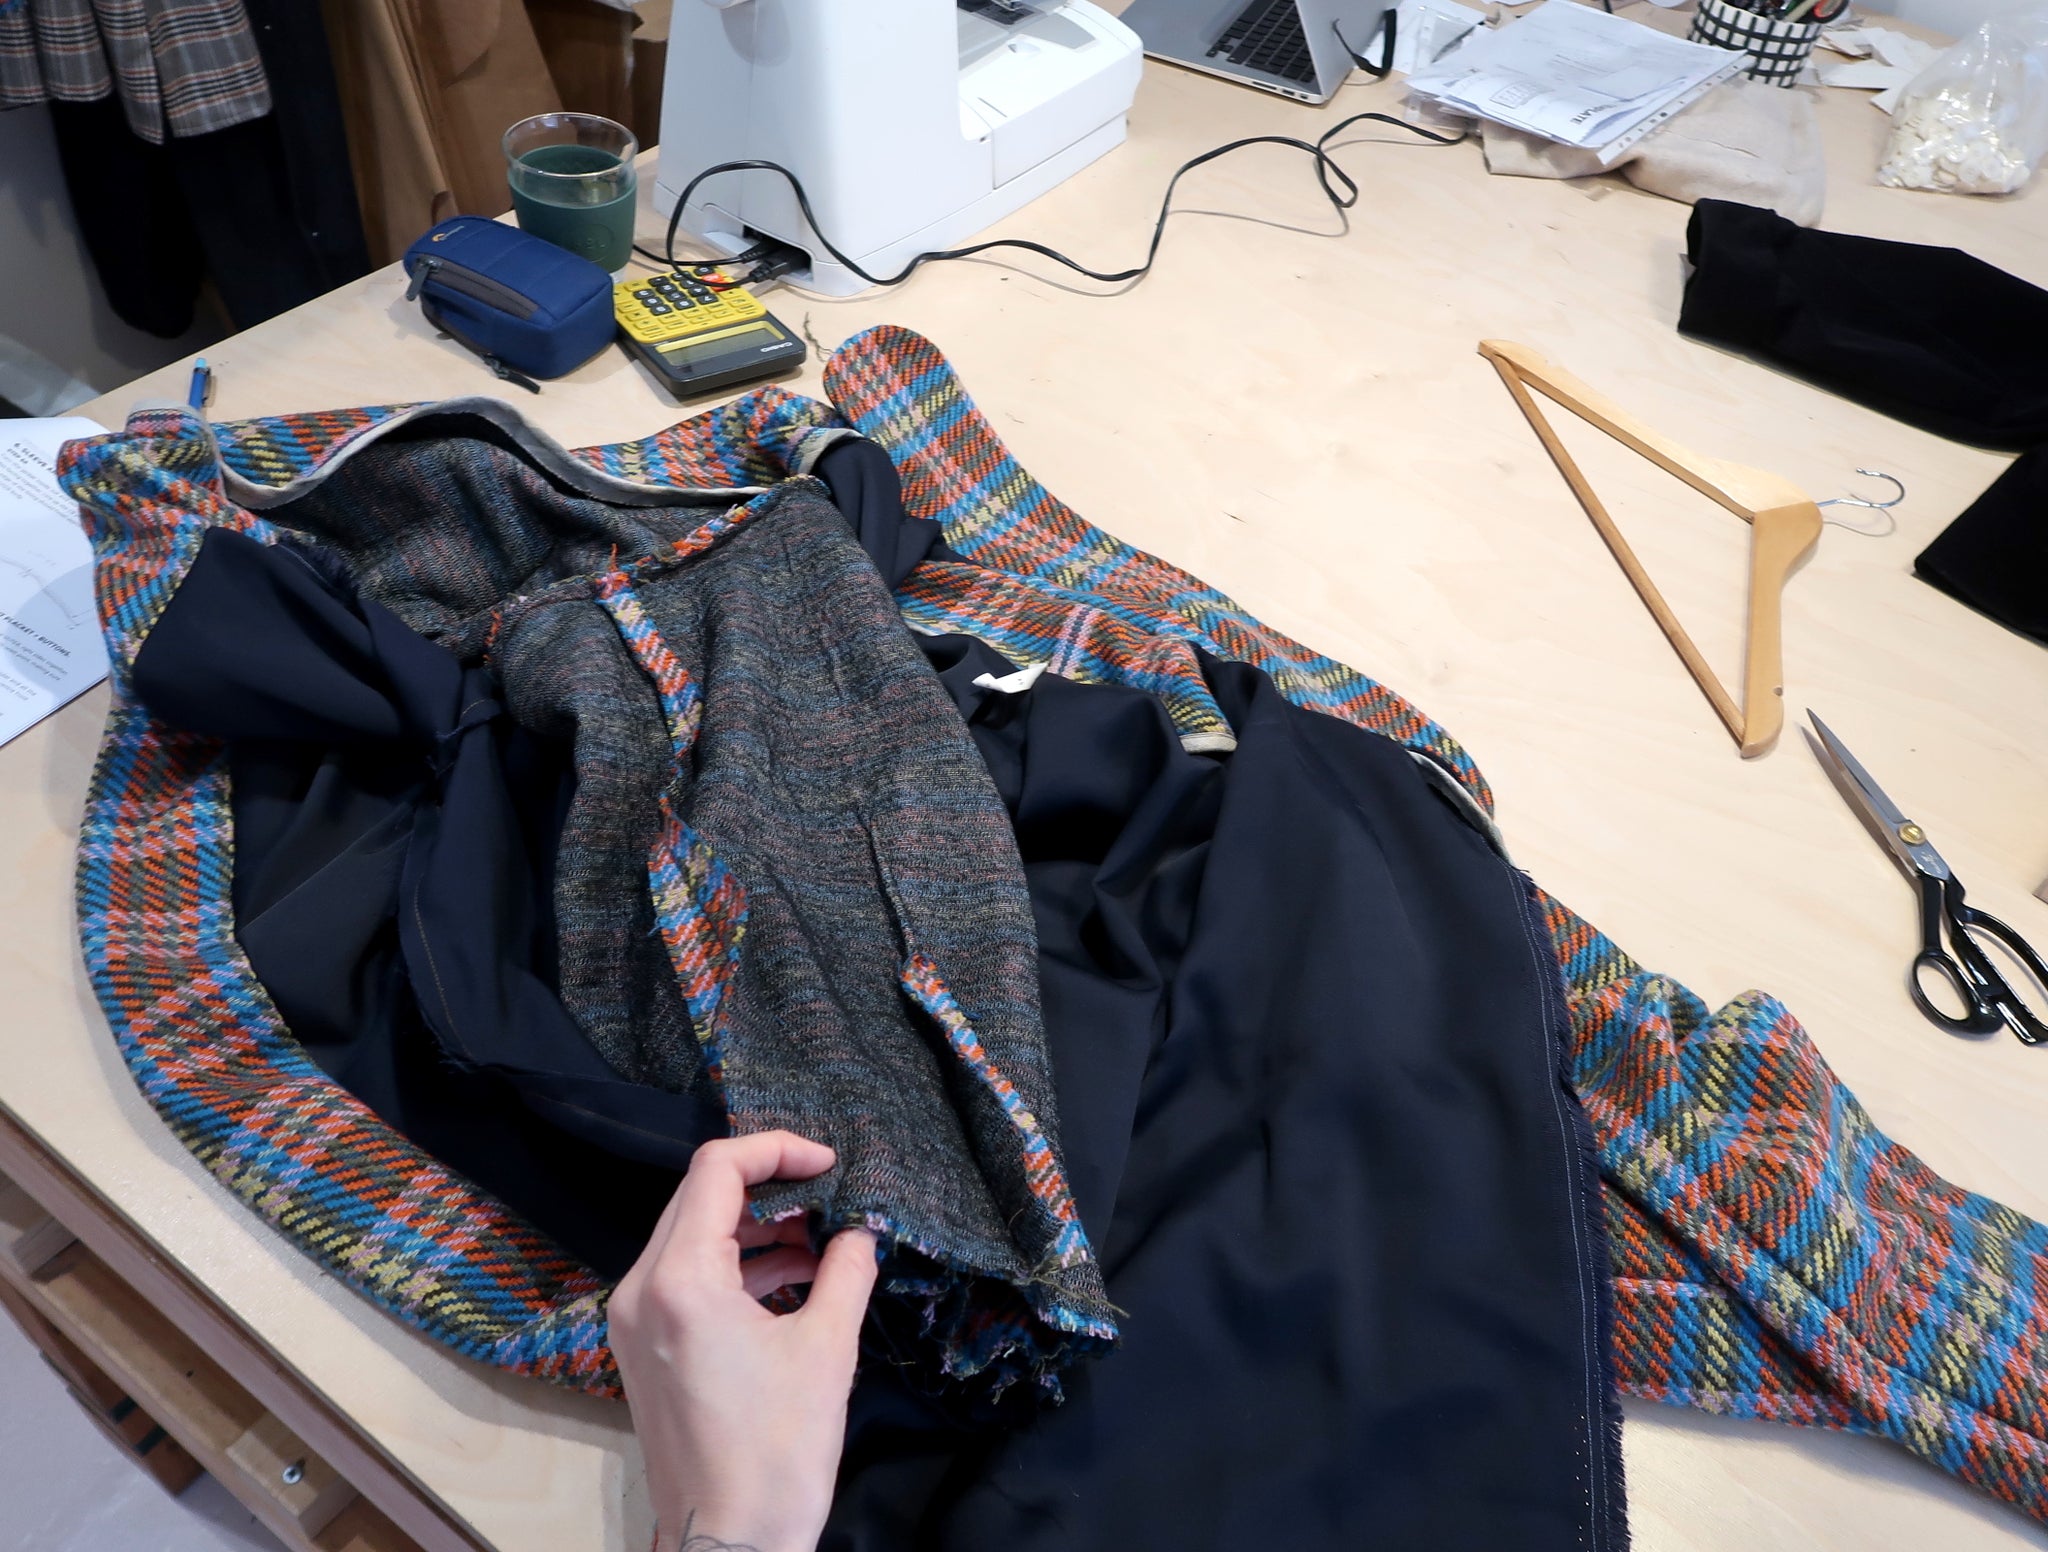
Turn the jacket inside out and sew the body hems together of the LINING and OUTER, with right sides facing together. Line up the CB point of the LINING to the CB point of the OUTER. The centre front edge of the lining should finish approximately 5cm / 2” away from the centre front bound edge of the OUTER body.


STEP 6B
Put the sleeve LINING into the sleeve OUTER, wrong sides together, and match together the bottom hem edge of the sleeves at the underarm seam point, making sure that the sleeve is not twisted. Pin together at this point to hold in place.
Turn the sleeve wrong way out by feeding your hand in between the lining and outer and all the way down the sleeve to the hem, then pull the sleeve out by the hem through this centre front opening.
Hold the sleeve together at the hem point and take out the pin at the underarm point, then place the sleeve hems together at this point with right sides together and place the pin back in, the raw edges of the lining and outer should be matching together. Pin around the rest of the sleeve hem matching the seams of the darts. Sew together the hems then turn the jacket right way out.


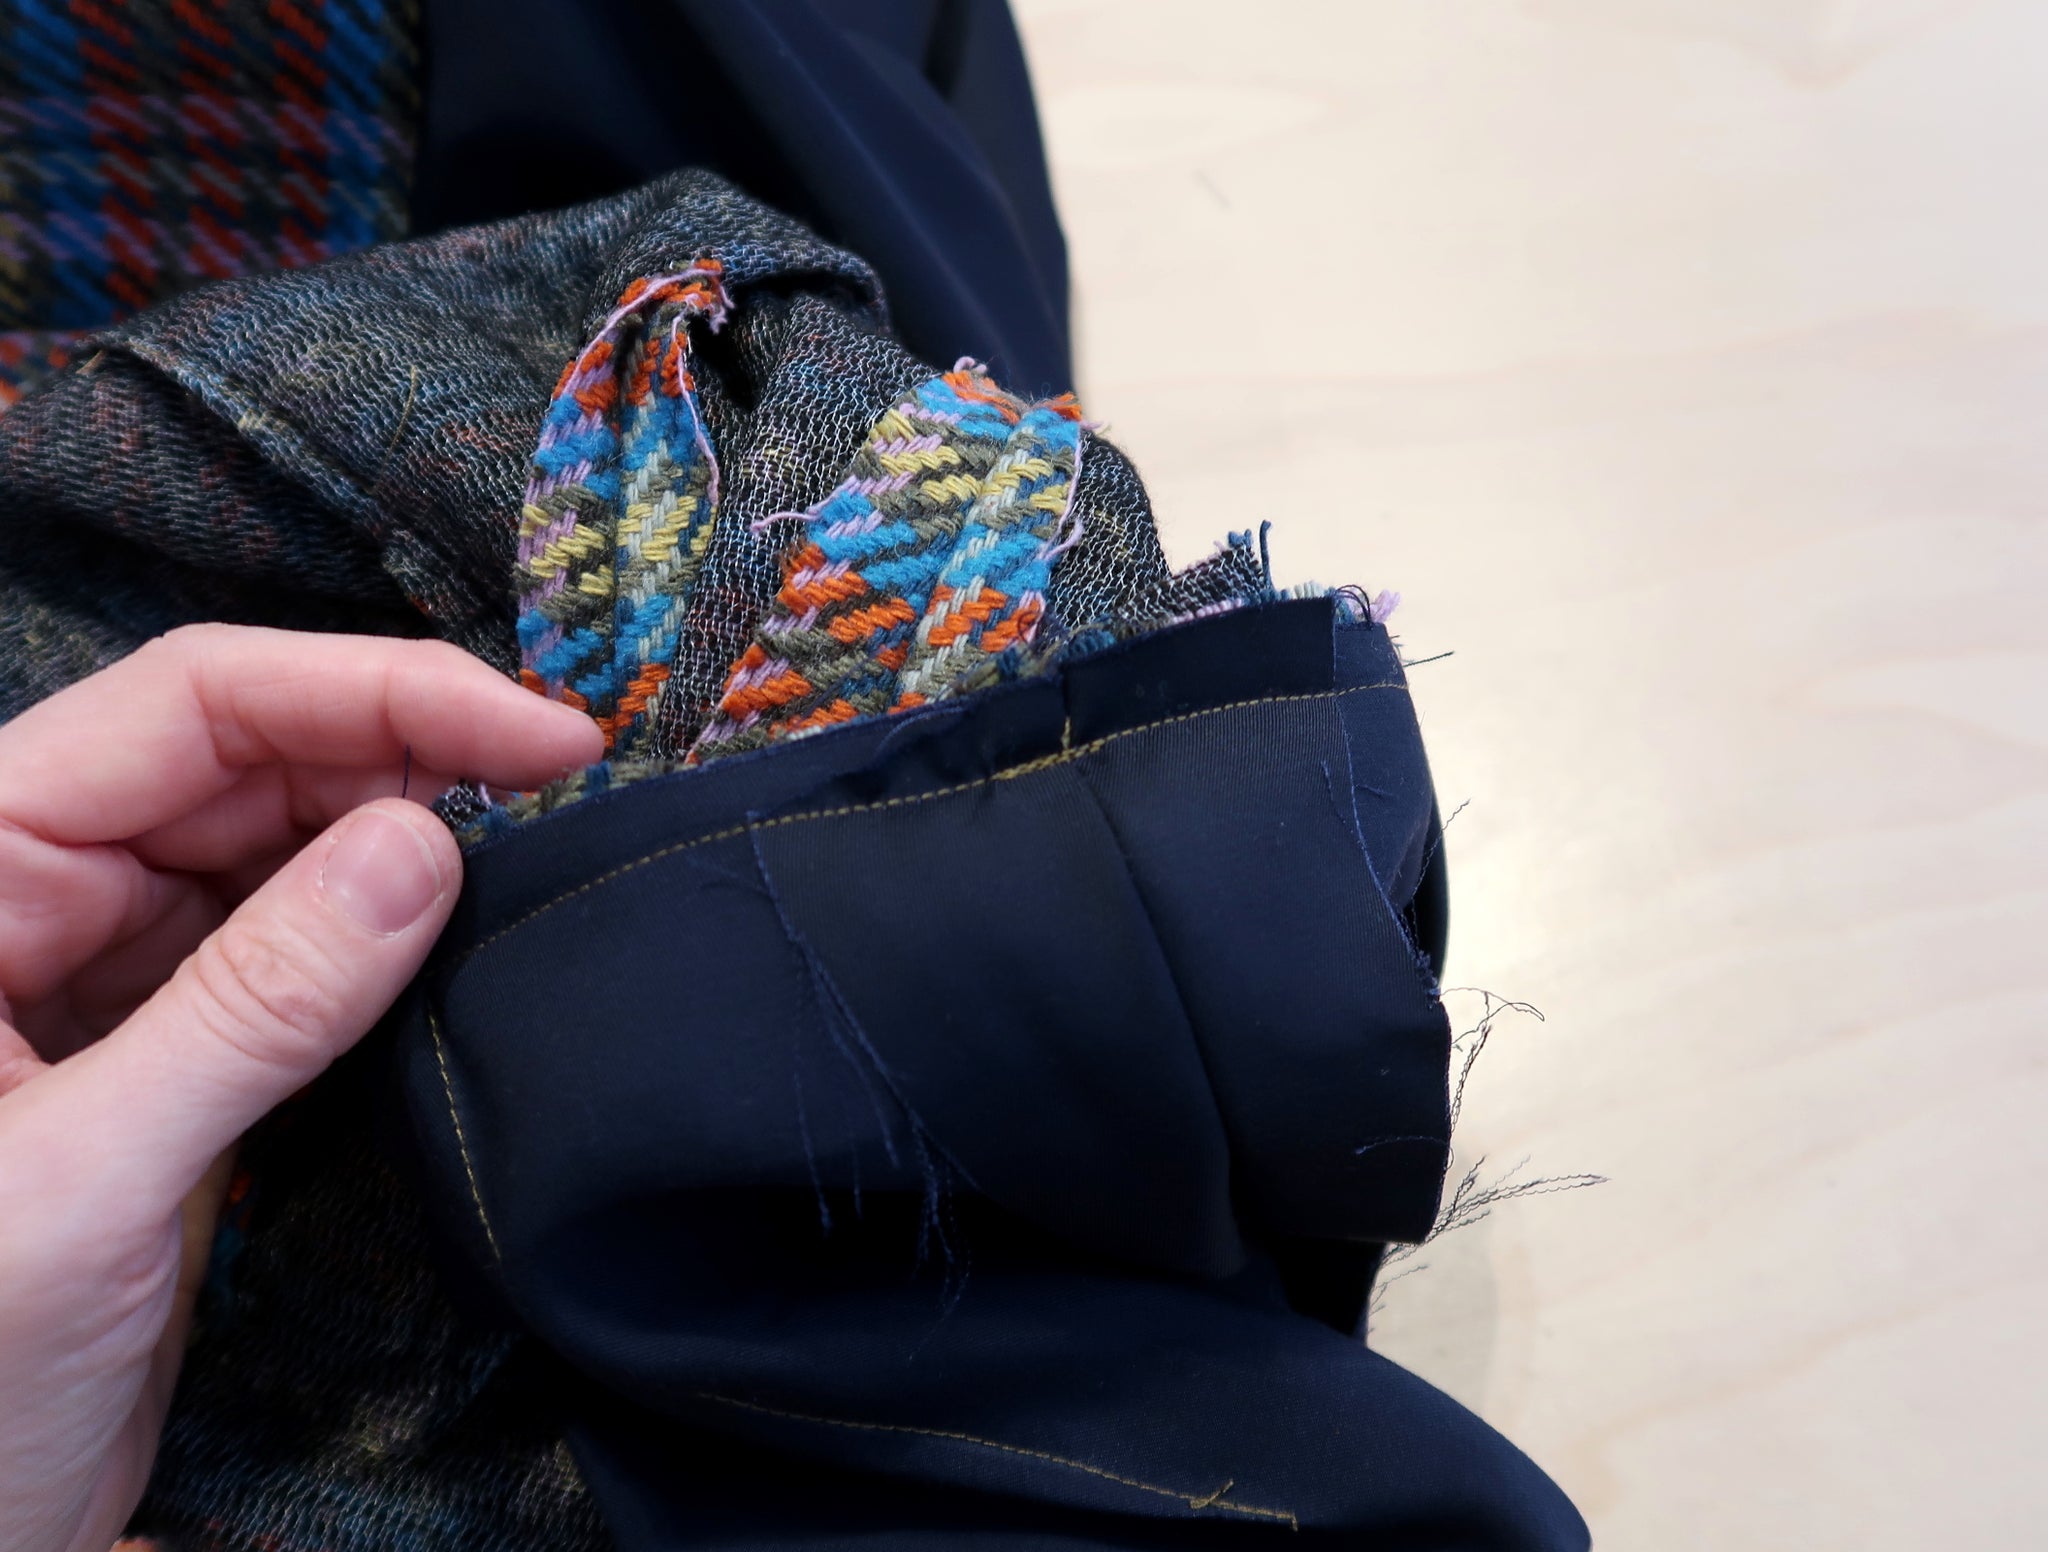

STEP 6C
Press the sleeve hem up so that there is 4 cm / 1.5” distance from the folded edge to the seam that joins the lining. Pin in place and hand stitch together, making sure that the stitching is hardly visible, or if you can, not visible at all, from the OUTER side of the sleeve.


STEP 6D
Turn back the bottom edge of the centre front hem, on the OUTER 5cm / 2” right sides together, making sure that the lining is going down and away form the OUTER body. Sew across the bottom part of the fold back 5cm / 2” up from the edge (or to the desired hem turn up).
*Please note the jacket used for this tutorial has a larger hem turn up than this. If you adjust the length of your jacket make sure that you adjust the lining length accordingly. A good lining length is to the finished length of the outer, this will leave enough extra for blousing once sewn.*


STEP 6E
Turn out the right way and lift the lining up into the OUTER body, right sides facing together. Trim away the bound edge on the inside folded up edge of the centre front body, to reduce bulk.


STEP 6F
Press the body hem up all the way around, so that there is 4cm / 1.5” from the folded edge to of the hem to the seam that joins the lining to the outer.
Making sure that the seam joining the lining body hem to the outer hem is going up into the body, positing the lining under the centre front fold back of the body, at the bottom part of the hem, making sure that everything is sitting neatly along this edge. Place a pin to hold in place, exactly along the seam joining the lining to the outer.
Now starting from the top of the centre front neckline, making sure the lining is neatly placed underneath the centre front folded in edge, pin the lining in place all the way down. There will be extra lining when you get to the bottom, when you get to the bottom pin that you placed in step 6F, remove this pin while holding the fold up in place along this point and make a tuck with the excess lining, going downwards.


STEP 6G
Pin the hem up all the way along, the same amount as the front, 4cm / 1.5”.
*Please note the jacket used for this tutorial has a larger hem turn up than this!*
Do a hand stitch to hold the centre front OUTER to the lining, along the pins. Then hand stitch the hem up, along the seam that joins to the lining, as far as you can between the centre front points. The stitching should be hardly visible, or if you can, not visible at all, from the OUTER side of the garment.


That was the last tutorial for the ZW Bell Jacket. The very last step is attaching buttons and button holes! Refer to the Instruction booklet for more on the placement and your individual sewing machine for how to sew button holes.

