This tutorial is to show a little more on how to finish the seams nicely on the Zero Waste Coat using bias tape or pre cut binding. This is a really lovely finish as it covers your seams nicely without needing overlocking and makes for a really nice finish on the inside. You can either cut bias strips yourself or buy pre cut binding on a roll, although I always prefer cutting myself as you will have many more colour and fabric options. Choose something fairly lightweight, like a linen or cotton, I wouldn’t recommend going for something too slinky, like a silk or viscose, as this can get quite difficult to work with, especially of you are using a heavier coating fabric for your garment.
So start by cutting strips on the bias around 5-6cm wide, make sure the strips are long enough to cover the full length of the seams you are working on.
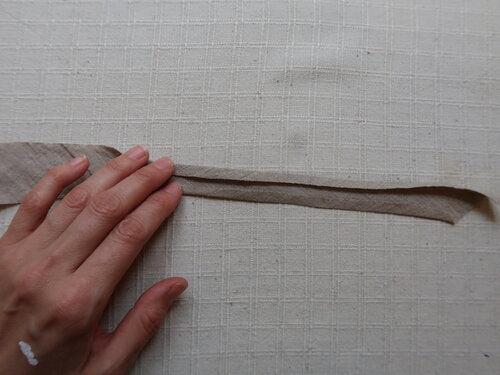
Press both ends of your bias in around 5mm all the way along.


Now sew your seam first with a single stitch.

Now place your bias tape over the seam (here I have placed it on the front part of the garment as I want this seam to press towards the back) and cover it just up to the stitch line. Top stitch the bias tape onto the seam, stretch the bias on a little as you go otherwise it can get a little wavy and not sit flat.


Press your seam to the back and pin in place the other side of your bias. Now hand tack this down to hold in place. This works really well if you are using a heavy wool coating as you can lightly catch it to the fabric without it being visible on the front of your garment. You can also do a top stitch here instead but keep in mind this will become quite a feature and will have visible stitch lines on the front of your garment.


And wherever you have attached bias at hems leave a little extra so you can turn this under and finsih neatly.


And thats it, you have a beautiful finished seam on the inside of your garment!

