This is a tutorial for anyone who is new to cutting a zero waste garment using this method.
All of our patterns are drawn directly onto the fabric with the aide of instructions and small templates. This method can seem a little tricky at first to some, but I promise once you get the hang of it is is super easy!
There are many benefits to cutting this way, the most obvious being the zero waste layout. This method also makes it easy to use different fabric widths, and you also don't need to juggle large pattern pieces and work out the most economical way to lay the pieces on your fabric as everything is already planned out. Cutting zero waste is also quite fast as one cut line separates 2 pieces. Once you get the hang of it is a very streamlined and satisfying way to work.
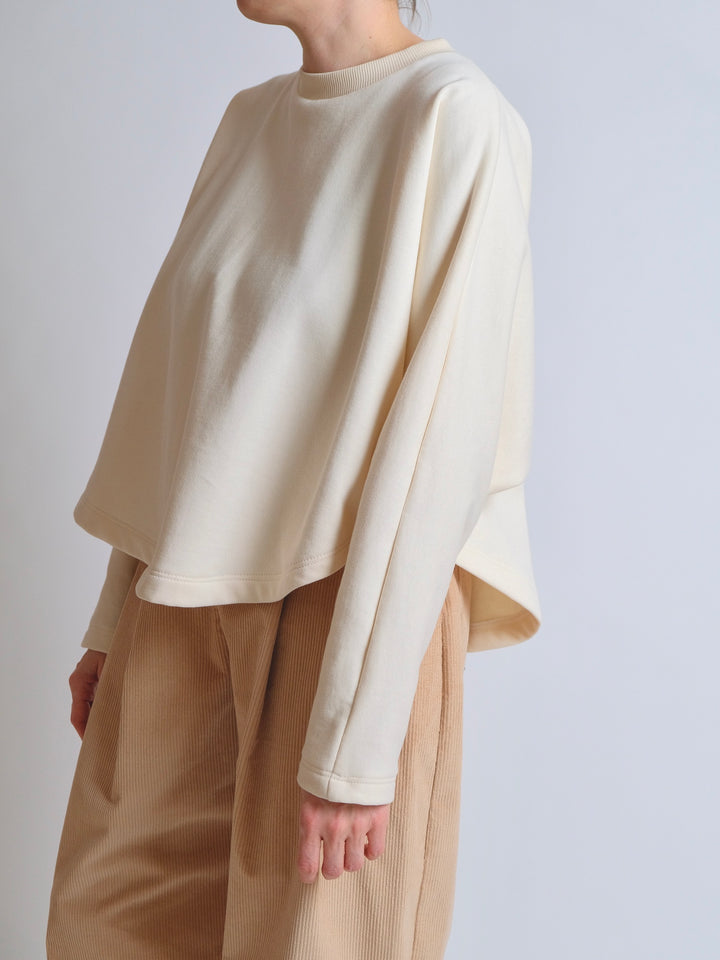
For this tutorial I am using the ZW TEE block from my book Zero Waste Patterns. I am using this pattern as a way to show a very generalised look at the cutting process. The pattern you use may look different to this, but the method is the same.
FABRIC PREPARATION
Before beginning it is important to make sure you have the right size fabric. You can find information about the fabric size you need with each individual pattern.
It is a good idea to wash your fabric before use and iron to make sure it is as straight as possible. Once you have done this you will need to neatly square up your fabric and cut away any selvage edges that may be too wide or pulling the fabric in unevenly (or you can incorporate the selvages into the garment if they are not impacting the edges of the fabric negatively).
TEMPLATES
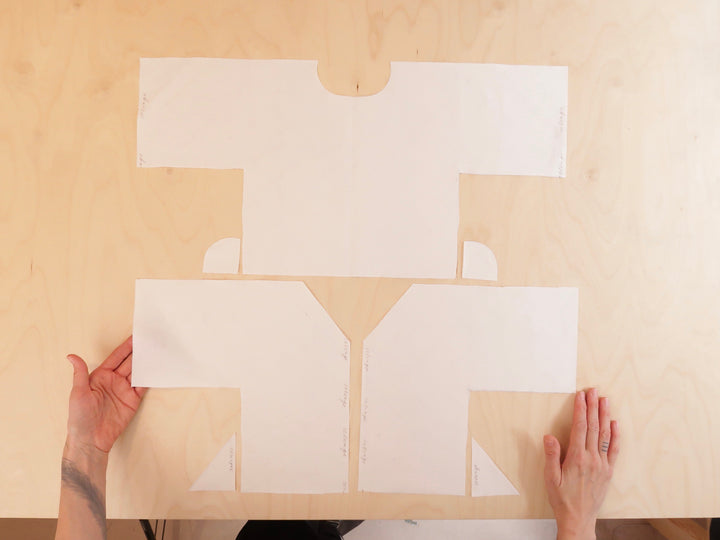
The templates are an important part of the cutting process and assist in drawing lines that are for example curved, or more difficult to draw directly onto the fabric yourself. The template I am using for this tutorial is from my book, where you take a piece of plain paper and trace the templates you need. The same applies for individual patterns but you may print them yourself and cut out the actual print outs instead. But overall the process is the same.
TOOLS
Apart from the usual cutting tools, such as scissors, weights, pins, and a measuring tape, there are a few extra tools that really come in handy with zero waste cutting, such as:
- A long straight or right angle ruler to draw nice long lines and to square up your fabric. If you don't have a ruler like this you could improvise by using a large piece of card, or something else with straight right angle edges to use as a guide.
-A dissolvable fabric pen such as a Pilot FriXion pen or a nice sharp piece of chalk is great for drawing clear lines, which is very important when drawing you pattern pieces directly onto your fabric.
-A calculator can also come in handy when working out certain fabric dimensions and cutting instructions.
NOW LETS BEGN!
ZW TEE CUTTING STEPS
Step 1: Using a plain piece of paper trace the template/s you need and cut out. Make sure you mark any important information on the template, such as the template name and if there is a centre front/centre back edge. This is to make sure you place the template on your fabric the right direction.


Step 2: Please note for this process I will be doing everything in half size to keep it clear in the photos, keep in mind this is not to scale when working with the actual fabric size!
Start by cutting your fabric to size, check that you are using the correct width and length as specified in the pattern information. Make sure the fabric is straight and squared up before starting. It is very useful to measure with a large right angle ruler or large piece of card for example. It is also very useful to measure from a few different points to make sure that the fabric is the right size all the way around. If you are out by a few mm here and there, don't worry, it will still work out just fine and will be close enough!
Once your fabric is nice and straight lay it flat on a table or on the floor, wherever you plan to cut, and take note of which direction your selvage edges run.


Step 3: The next steps can vary depending on what pattern you are working with. Follow the instructions of your chosen pattern step by step to see the order in which you do things.
For the ZW Tee the first thing you will do is fold your fabric in half, right sides together, selvage edge to selvage edge. When you are cutting pairs of pieces this is always the best way to cut as you will end up with a perfect set. Most of our patterns use this method whenever it is possible.


Step 4: Follow the instructions outlined in the pattern you are using.
For the ZW TEE you will now mark out all your pieces step by step by following the instructions with the help of your measuring tape and ruler.
You will place your template on the fabric according to the instructions, lining up the centre front edge along the fold line of the fabric.
Continue on with all of the cutting steps to mark out all of your pieces.


Step 5: Once you have marked out all of your pieces check over everything first to make sure it looks correct according to your cutting plan, checking to see if the selvage edges are running the correct direction according to the cutting plan and that the fold line of your fabric is correct. *Please note if you are following this while working on the TEE I made a little mistake here according to the TEE layout and forgot to draw in my final piece (D), I have drawn it in the next step during the cutting process!
Now you can cut apart all of your pieces by following the instructions. The cutting steps are always numbered to help you to cut apart the right parts in the right order. It is important you following the number order when cutting to avoid cutting mistakes.
When a cut line is along a fold line this means that you need to cut apart the pieces exactly along the fold line.


And now you have your pieces cut out ready to sew!