Ive received a few questions recently on how to use the ZW Bell Jacket Templates so I thought I would put together a little tutorial showing how to use these correctly. The templates for the ZW Bell Jacket are a little more complicated compared to previous patterns. It might seem a little confusing at first but I promise once you have figured this out the first time you can cut this jacket out super quickly and easily!
For this tutorial I will only be cutting the OUTER fabric. When you get to cutting the LINING the steps are very similar so you can refer to the CUTTING PLAN document for more details on this.
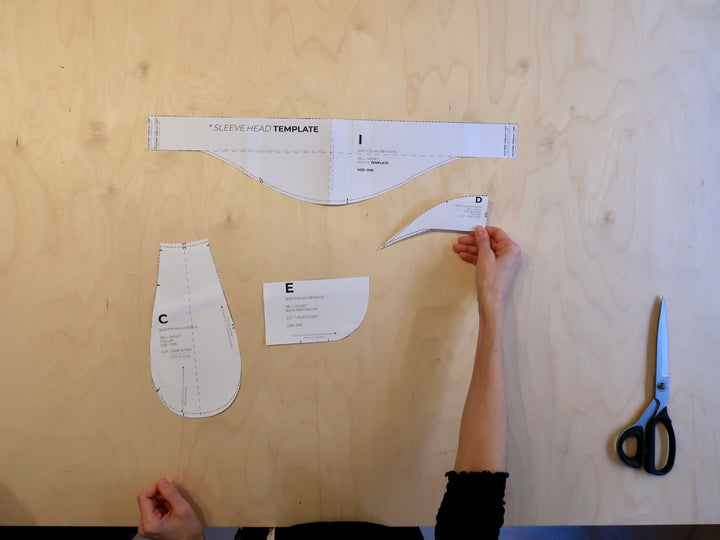
To do this tutorial you will need to follow the CUTTING PLAN document in your chosen size. I will be showing the cutting steps 1-4 using templates I, D, C and E.
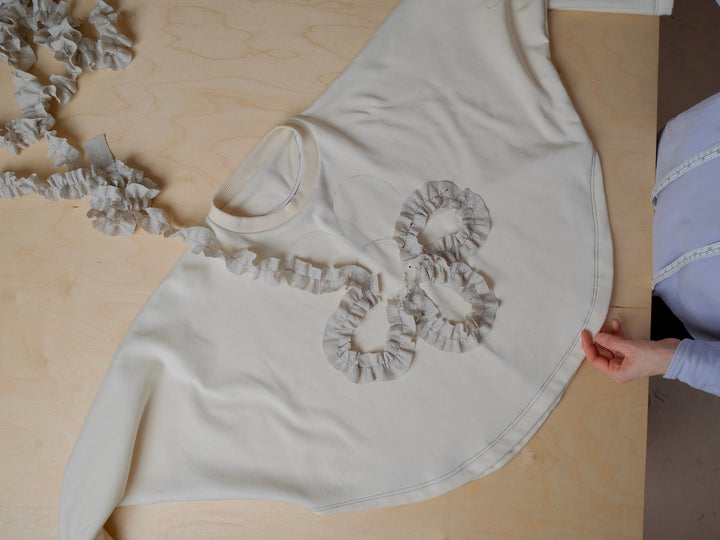
The images here show the fabric already cut to size and folded in half and the fabric is layed out the same direction you see in your CUTTING PLAN document. I am not showing the entire length of fabric here, just the section where you will be using the templates.
STEP 1
Cut your templates out, making sure you cut according to the correct line based on the fabric width you are using. For this tutorial I am cutting a size ONE jacket and using a fabric width of 150cm so I have made sure to cut along this line for templates I, D and C. Template E is the same for all fabric widths. Here you can see the templates I will be using, the second image shows how template D is positioned, inside the the sleeve head template (I). This may even clear up some questions right away for anyone that has been wondering how this piece fits in!


STEP 2
Prepare the full length of fabric you will be using for this project and fold it in half lengthways (selvage edge to selvage edge). In these images the foldline is positioned on the right hand side, the same way as your CUTTING PLAN diagrams.
Following cutting step 1/4 mark a horizontal dashed line by following the measurements, this is not a cut line but a guide line to figure out where the sleeve head template should be placed. Next mark a second guide line running vertically through the centre point of your fabric.


STEP 3
Following cutting steps 1/4 place your sleeve head template on your fabric making sure you line up the horizontal and vertical guide lines on the template with the ones you have drawn on your fabric. Draw around your template with a solid line across the bottom curved edge and the side straight edges ONLY. Mark notches according to the template.


STEP 4
Following cutting steps 2/4 place your collar stand template (D) on the INSIDE of the sleeve head lines you have just drawn in. This template should fit perfectly into the corner here. Start by placing it on the right side of your fabric and draw around the template with a solid line. Mark notches. Now flip the template and place it on the left side and draw onto your fabric with a solid line. Mark notches.


STEP 4
Following cutting steps 2/4 draw in the remaining vertical lines with a ruler along the left and right sleeve to make the pocket pieces (F, G and H).


STEP 5
Now you will get to cutting steps 3/4, which is to cut out the pieces you have drawn in, however for the purpose of this tutorial I am going to skip this and go straight to step 4/4 and cut out everything at the end.
Following step 4/4 place the collar template (C) on your fabric lining up the top edge of the template against the sleeve head and the centre vertical line on the template with the vertical guide line you have drawn on the fabric. You should also make sure that the double notches on the template are pointing towards the folded edge of your fabric, this is the back section of your body armhole. Draw around the template with a solid line and mark notches. Some of these notches are marked on the Collar (C) and some are marked on the body armhole so make sure you do this correctly according to the directions on the template.


STEP 5
Following cutting steps 4/4 place the back neck facing template (E) on the left hand side of your fabric lining up the top and side straight edges of the template with the sleeve/collar stand lines and side edge of the fabric. Draw around your template and mark notches according to the template. You should also mark notches on the back body, the right hand side of your fabric, along the pocket/collar stand lines according to your cutting plan instructions.


STEP 6
Now you can cut out all of your pieces following cuttings steps 3/4 and 4/4.


And that is it for this tutorial, I hope this has been helpful in clearing up any questions for anyone wondering exactly how to use these templates!
Good luck and happy sewing!
Birgitta x