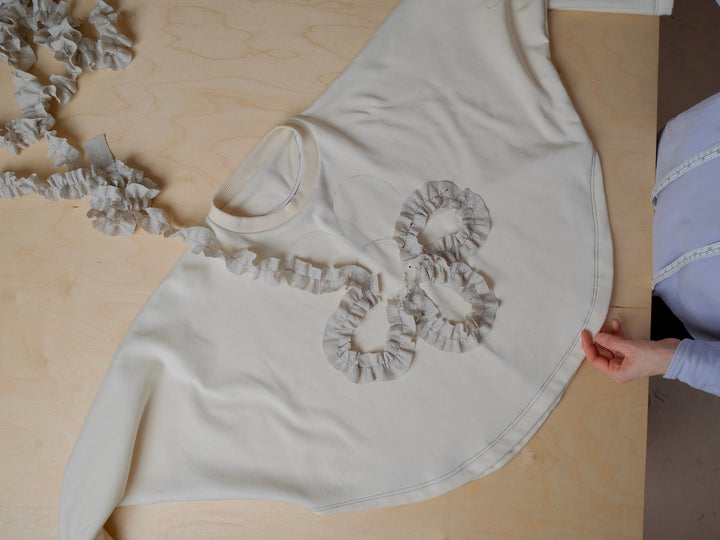
This is a simple little tutorial on attaching binding to compliment our latest pattern release, the ZW TIER DRESS. This shows the steps of attaching a pre-cut bias binding strip onto an edge, on for example a neckline or armhole.
Here I have used a bias strip that I cut myself from a light weight cotton shirting, it is around 3.5cm wide. If you are using a length of binding that you have purchased by the metre where the edges have already been pressed in you can still do this method by simply following the steps and using the pressed edges as your guide for the stitch lines, and when folding in.
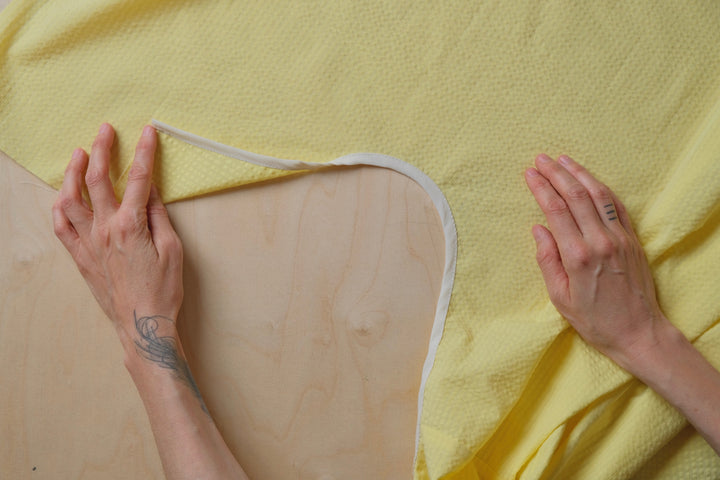
STEP 1
Place your binding on the inside of the garment (wrong side of the fabric) and attach the binding with a single stitch around 0.5cm away from the edge (or a tiny but less than a 1/4 the width of your binding). You should have the right side of the binding facing the wrong side of the garment. As you sew stretch the binding on slightly, this is particularly important to do when you are sewing binding onto a curved neckline or armhole.
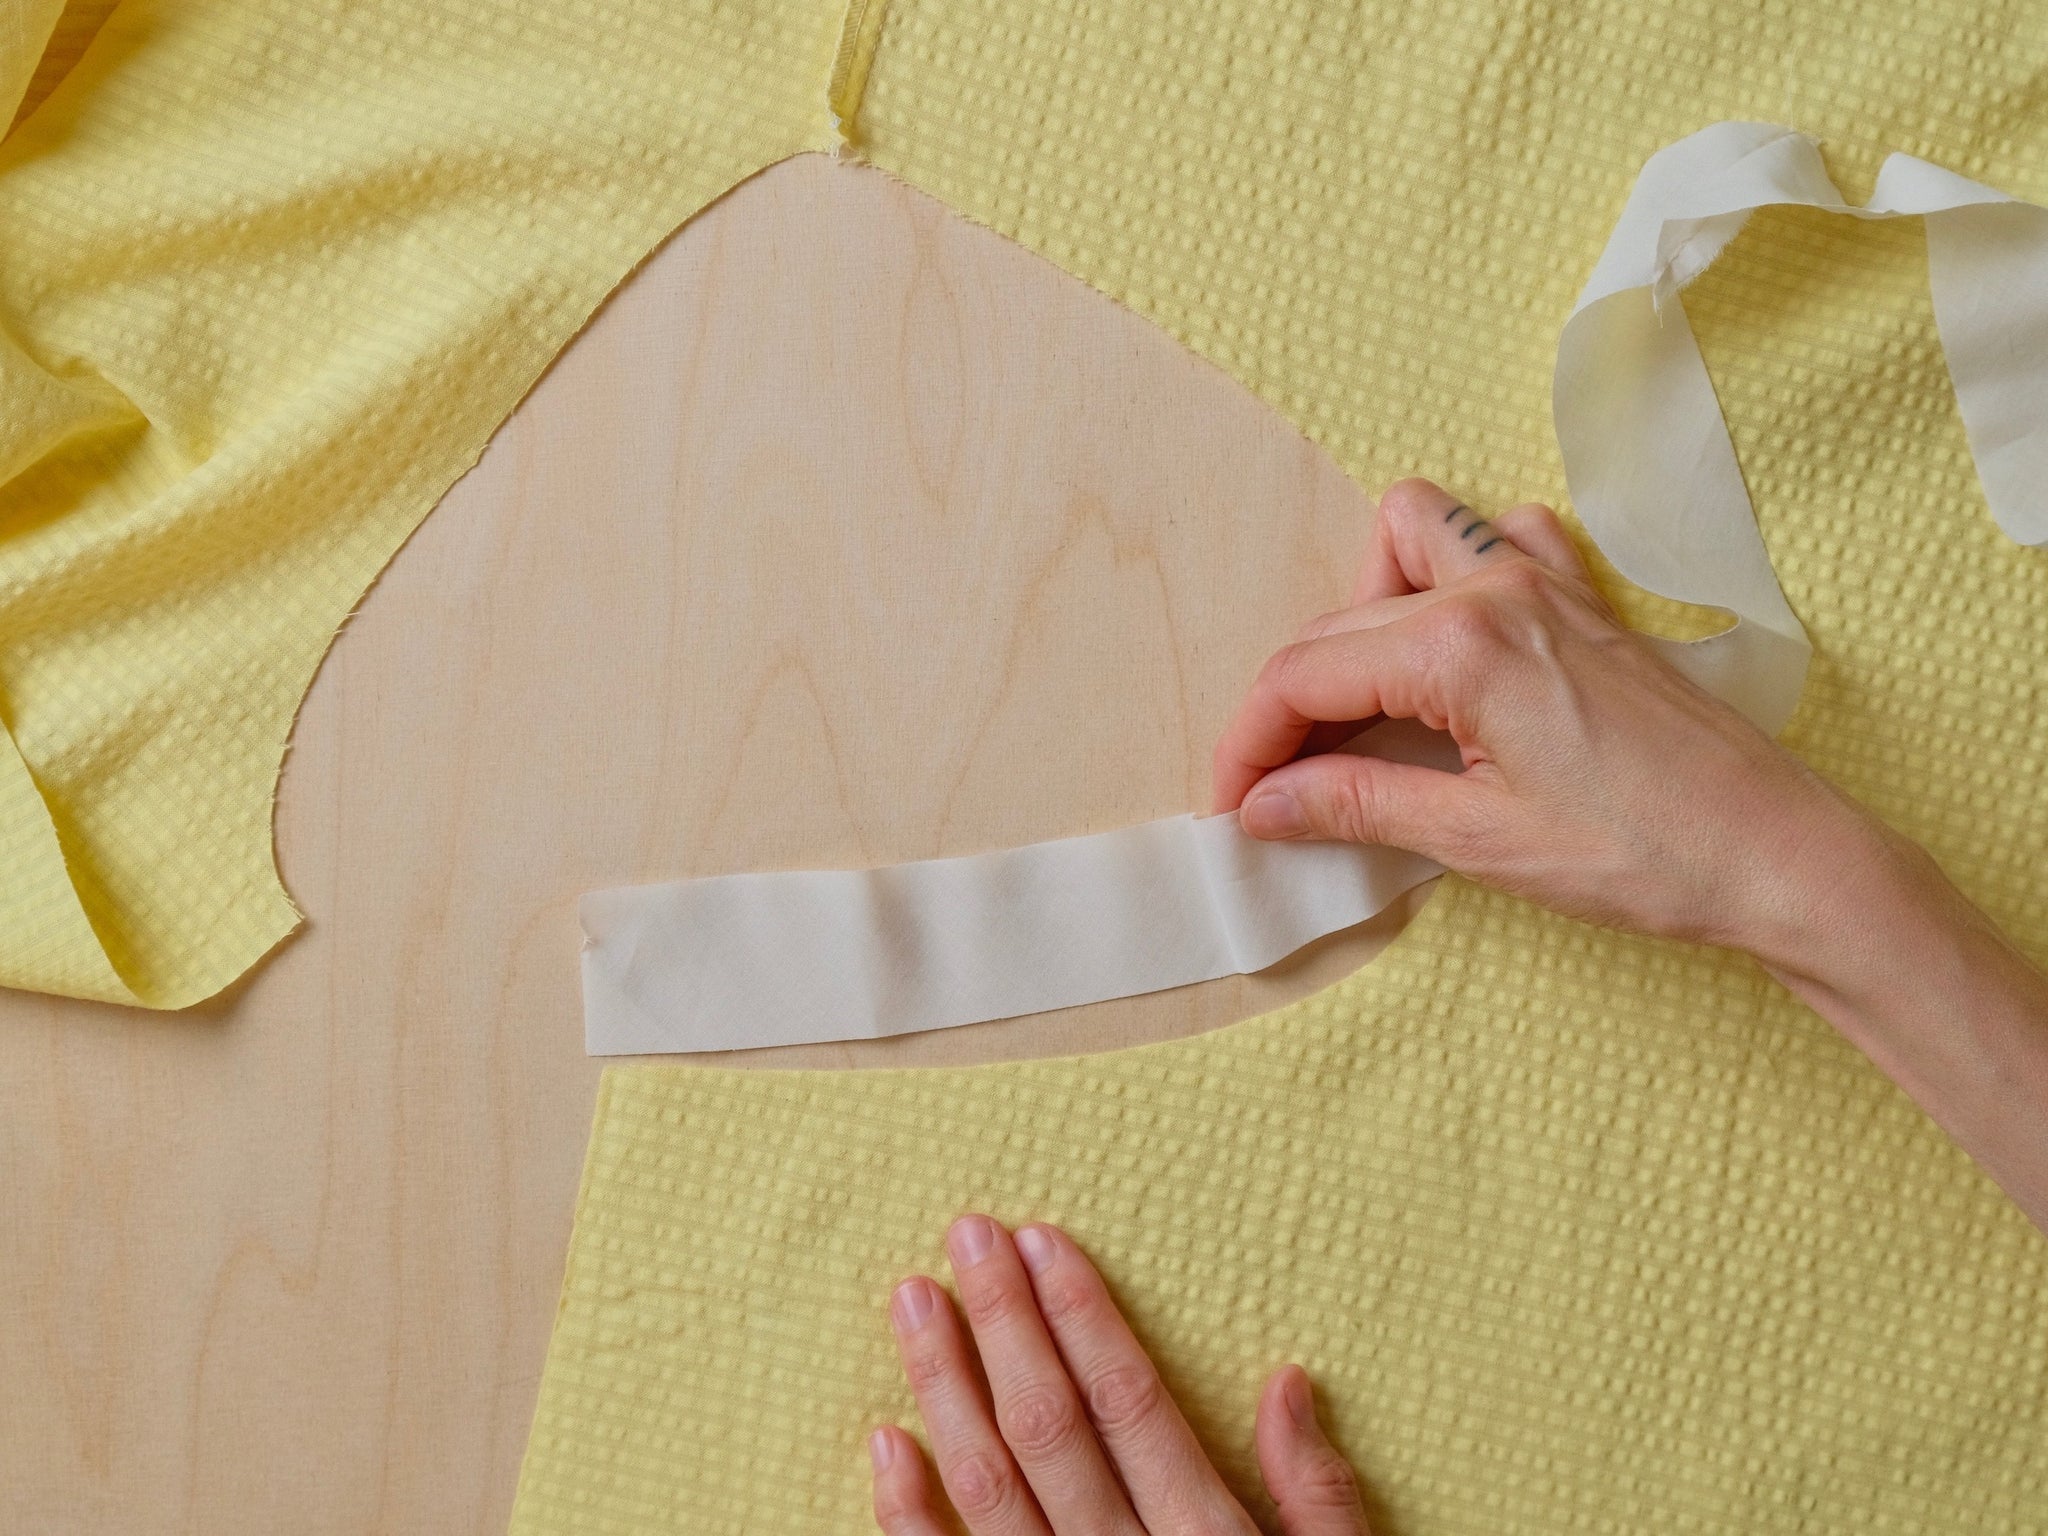

STEP 2
Gently press the binding up and turn your garment to the other side, so you are now working from the right side of the fabric.


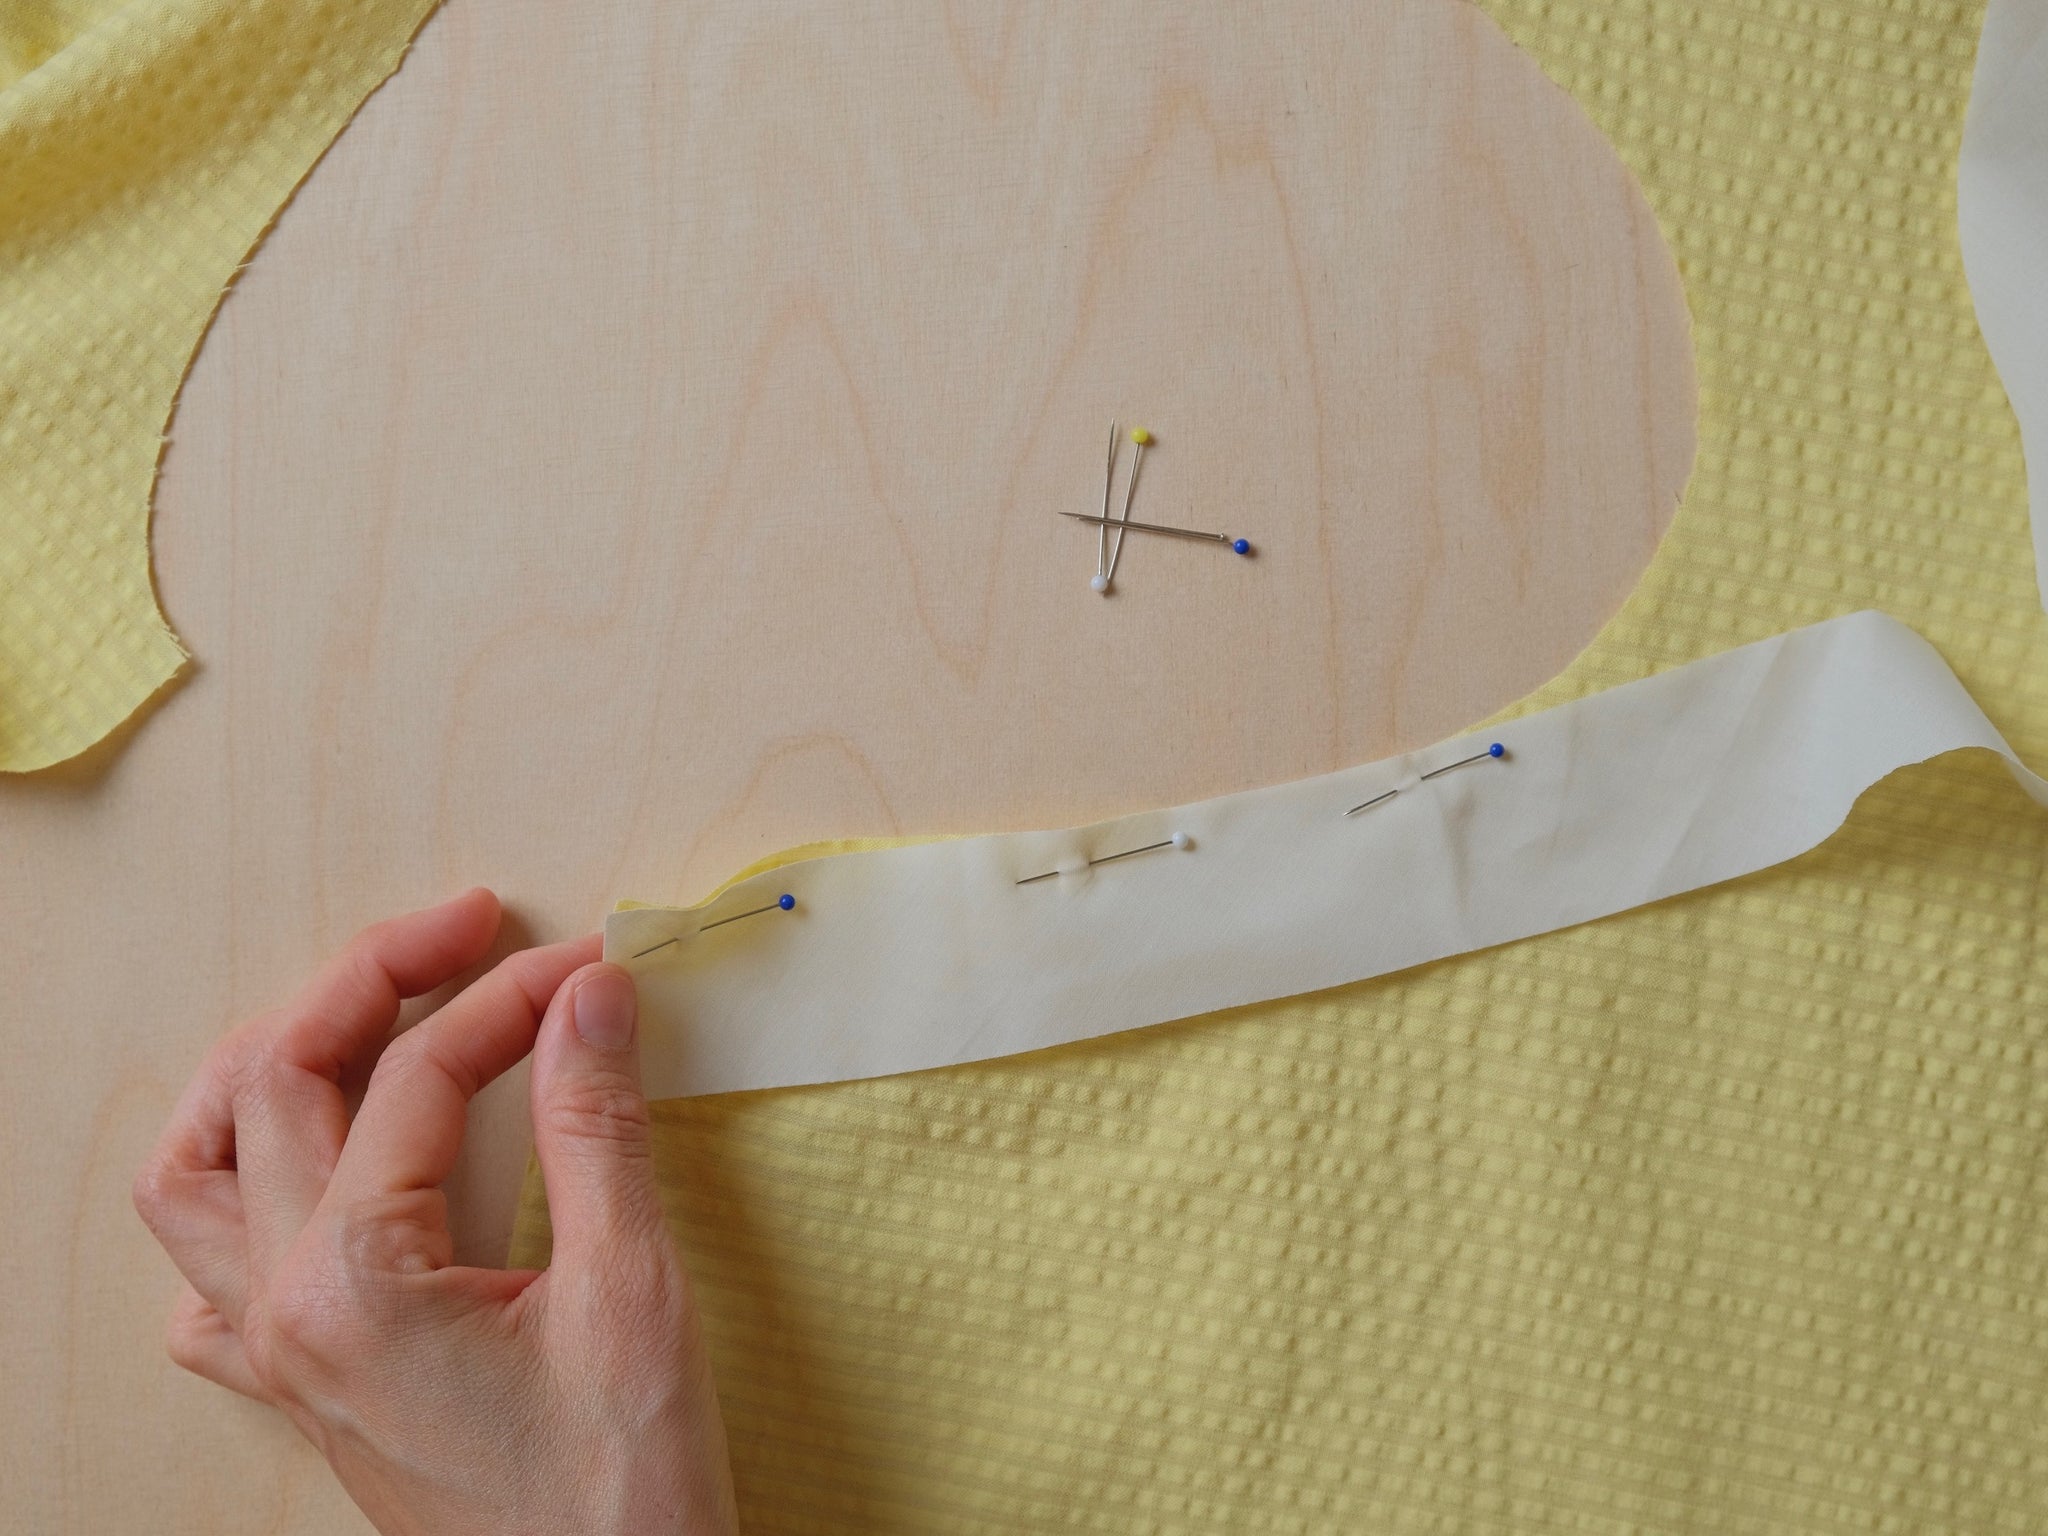
STEP 3
Fold the binding in once and then fold in half to cover the edge and existing stitch line neatly. Pin in place and top stitch the binding down.


Thats it binding done!
Birgitta x